

Last updated on October 20th, 2026 at 03:47 pm
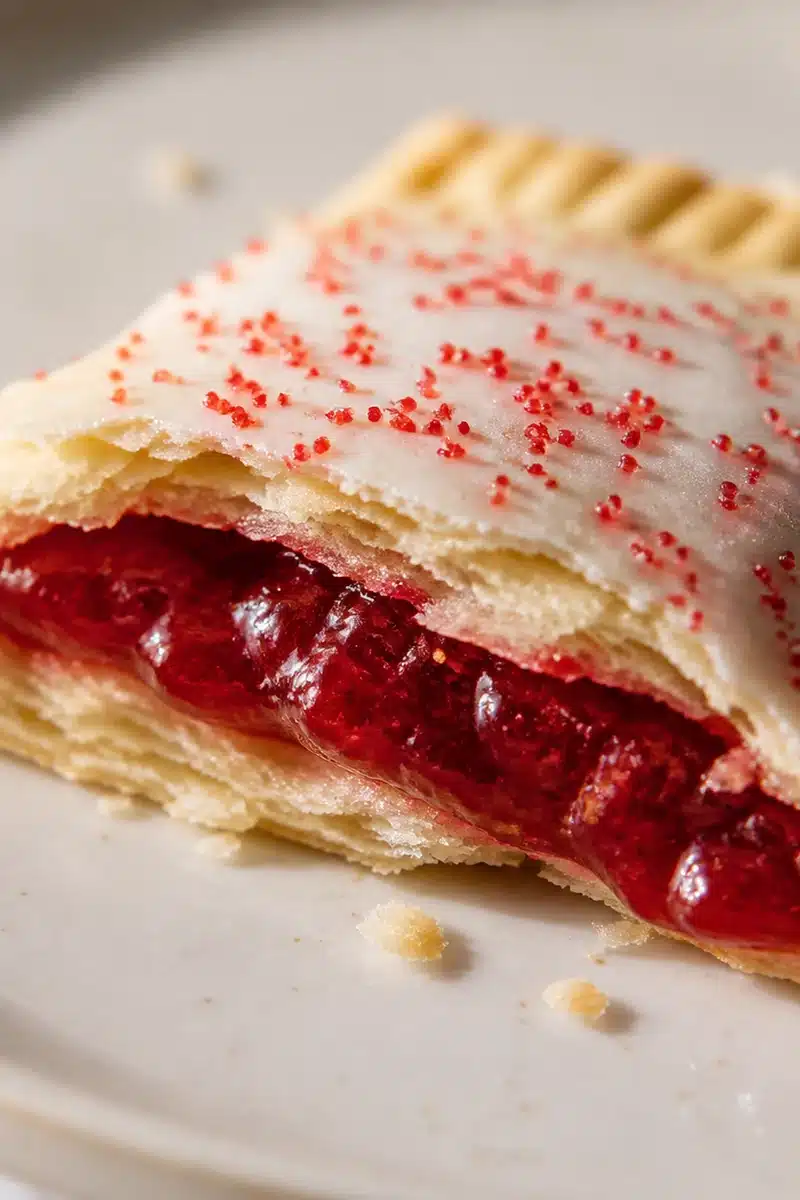
The raspberry jam pop tarts feature a thick vanilla frosting, a creamy raspberry core, and crisp pastry edges. There is no dough to make or fresh fruit to simmer down because these homemade raspberry pop tarts are made with chilled pie crust and seedless jam.
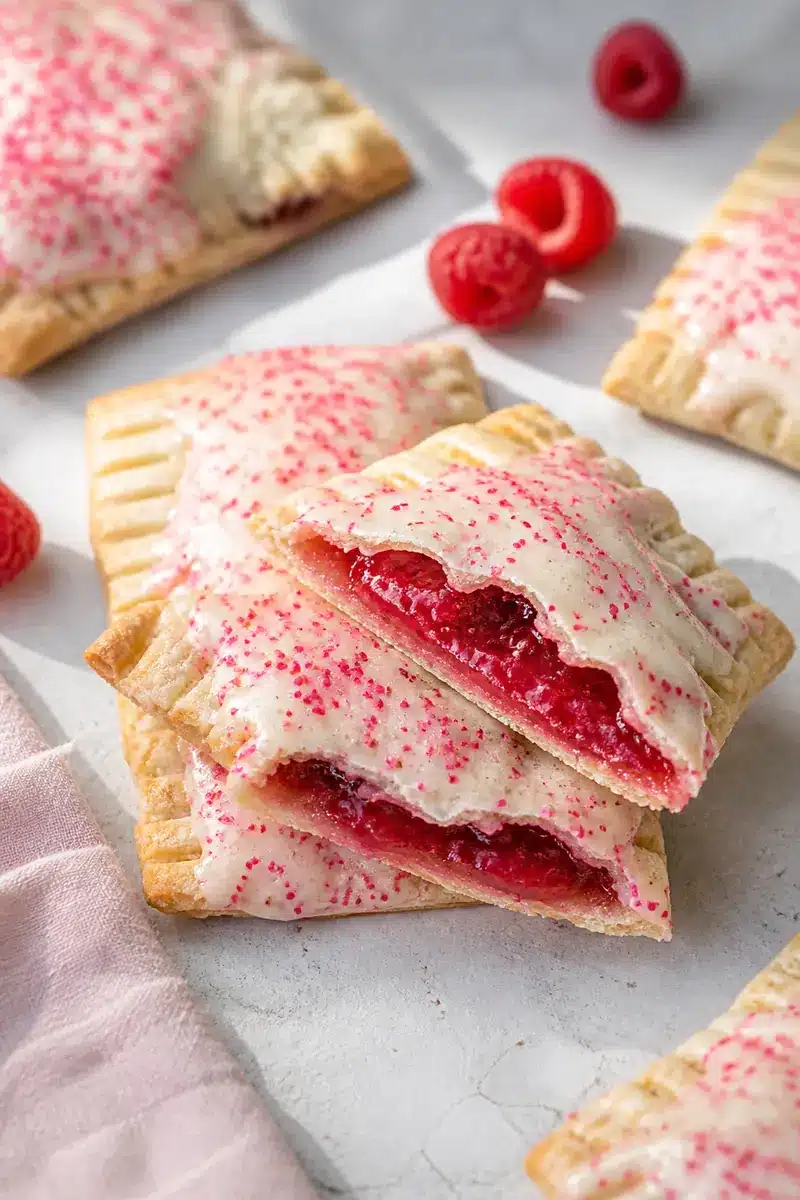
Makes 6 tarts. First cook and cool the filling, leaving a clean border when sealing, then chill the prepared pastries before baking. Allow around 1 hour 50 minutes, including chilling and setting of glaze. Check out these homemade pop tart recipes for alternative fillings and types of pastry.
Table of Contents
Why These Raspberry Jam Pop Tarts Work
- The filling thickens before assembly. Cornstarch helps the jam hold its shape, making it easier to keep the pastry borders clean.
- Purchased crust keeps preparation simple. There is no dough to mix, but keeping the pastry cool still makes cutting and sealing easier.
- The finishing steps protect the texture. Vent holes release steam, a rack lets the pastries cool without trapping moisture underneath, and glazing after cooling helps the icing stay on top.
Raspberry Jam Pop-Tarts
Ingredients
Equipment
Method
- Whisk cornstarch with cold water in a small saucepan, stir in the seedless raspberry jam, and cook over medium-low heat for 2 to 3 minutes until glossy and thick. Scrape into a shallow bowl and cool until no longer warm.
- Heat the oven to 350 F and line a rimmed baking sheet with parchment. Unroll both cold pie crusts on a lightly floured surface and cut six matching rectangles, about 4 by 5 inches each.
- Arrange three rectangles on the sheet. Spoon about 1 1/2 tablespoons of cooled jam into the center of each, leaving a clean 1/2-inch border. Beat the egg with water and brush the border lightly.
- Lay the remaining rectangles over the filling and press around the edges to push out air. Crimp all four sides firmly with a fork, wipe away any jam on the rim, and poke 3 or 4 small vent holes in each top.
- Brush the tops with egg wash and chill the tray for 10 minutes. Bake for 22 to 24 minutes, rotating once, until the edges and bottoms are golden brown. Cool on the sheet for 10 minutes, then move to a rack.
- Whisk the sifted powdered sugar, milk, and vanilla into a thick glaze. Spread it over the cooled pastries, keeping the crimped rim visible, then add red sprinkles. Let the glaze set for at least 20 minutes.
Notes
- Store glazed pastries in a covered container at room temperature for up to 3 days.
- Freeze assembled, unbaked pastries for up to 1 month, or freeze baked pastries without glaze for up to 1 month. Thaw baked pastries overnight before glazing.
- Warm at 300 F for 8 to 10 minutes, or microwave briefly; do not use a toaster.
Ingredients and Notes
These produce six filled pastries. You will also need a rimmed baking sheet and parchment paper, a small saucepan, a rolling pin and ruler, a sharp knife, a pastry brush, a fork, and a cooling rack.
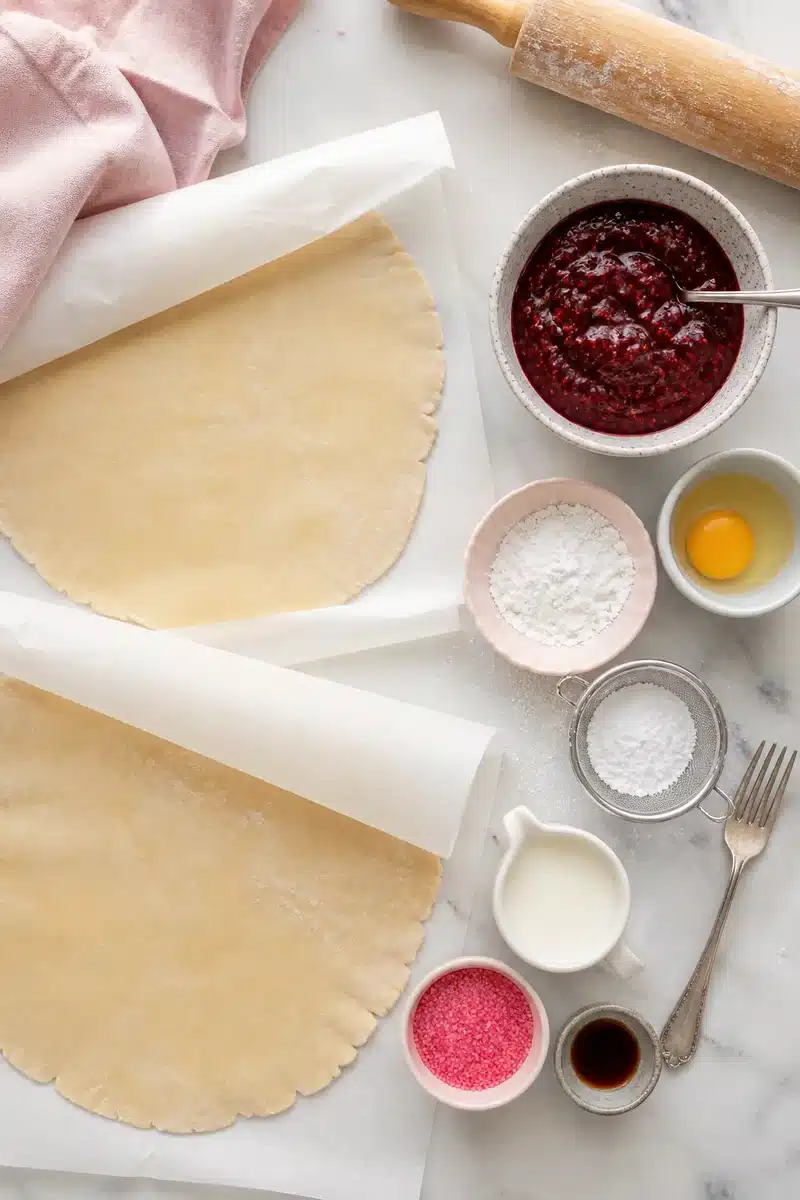
Raspberry Pop Tarts With Pie Crust
- 1 package containing 2 full-size rolled refrigerated pie crusts, made without lard
- 1 tablespoon all-purpose flour, for the work surface
Use rolled pastry dough, not puff pastry or crusts already pressed into pie tins. Check the ingredients carefully because some refrigerated crusts contain lard.
Follow the package’s instructions for softening the dough just enough to unroll without cracking. If it becomes sticky or difficult to lift, chill it before continuing.
For these raspberry pop tarts with pie crust, matching tops and bottoms matter more than perfectly straight corners. Cut twelve pieces so you have six complete pairs.
Seedless Raspberry Jam Filling
- ½ cup seedless raspberry jam
- 2 teaspoons cornstarch
- 1 tablespoon cold water
Seedless jam gives the filling a smooth texture. The cornstarch helps thicken it during cooking so it is easier to portion without spreading onto the pastry borders.
Whisk the cornstarch into the cold water before adding the jam. This helps prevent lumps. Cook until the mixture bubbles and thickens, then cool it completely before filling the pastries.
King Arthur Baking’s toaster-tart recipe also uses a cooked jam filling thickened with cornstarch and water. Here, refrigerated pie crust keeps the pastry preparation shorter.
Egg Wash
- 1 large egg
- 1 teaspoon water
Beat these together until smooth. The egg wash helps the pastry brown and lightly moistens the borders before sealing.
The teaspoon of water here is separate from the tablespoon used in the jam filling. Brush the borders lightly rather than leaving puddles around the edges.
Vanilla Glaze for Pop Tarts
- 1 cup powdered sugar, sifted if lumpy
- 1½ tablespoons milk, added gradually
- ½ teaspoon alcohol-free vanilla extract or flavoring
- 2 tablespoons gelatin-free red sprinkles
Start with one tablespoon of the measured milk, then add the remaining half tablespoon gradually as needed. The glaze should spread slowly rather than run off the pastry.
A thick vanilla glaze for pop tarts needs completely cooled pastry underneath it. Warm pastries can melt the glaze and prevent a neat finish.
How to Make Homemade Raspberry Pop Tarts
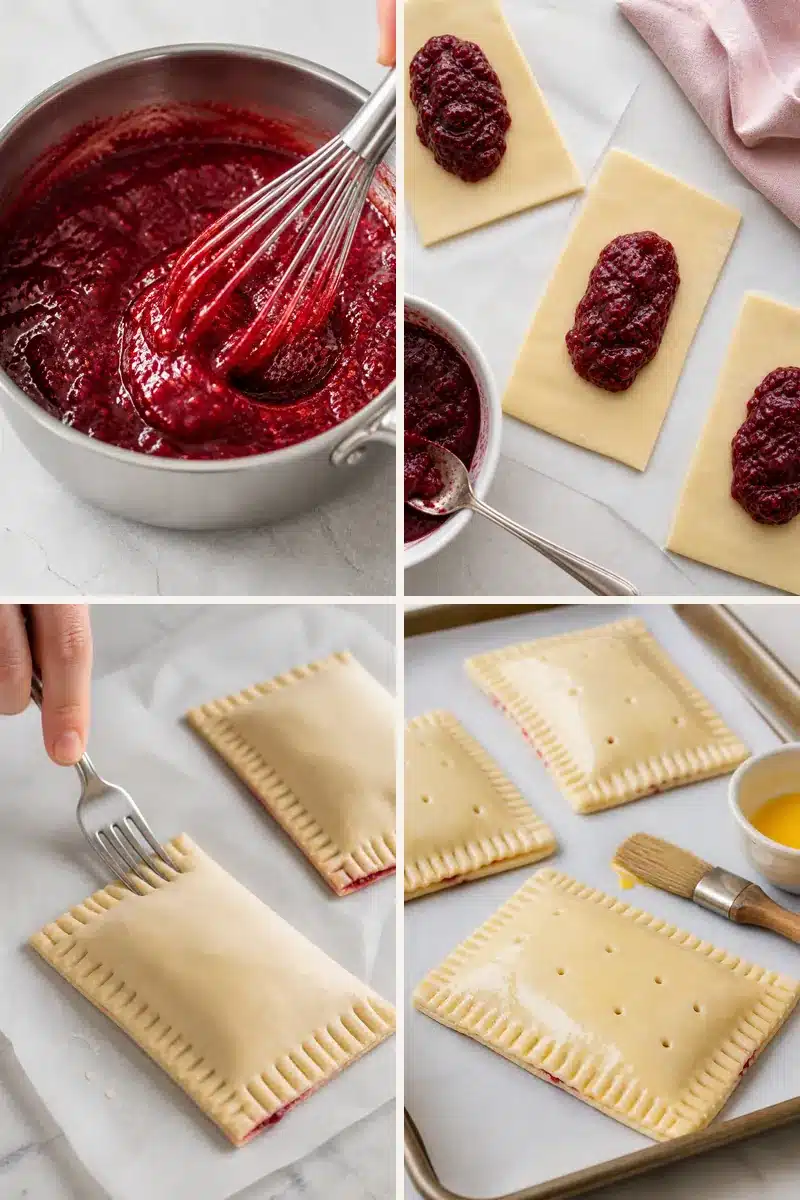
Make the filling first so it can cool while you prepare the pastry. Keep the dough chilled whenever it starts to soften.
Total time: 1 hour and 20 minutes
-
Thicken and cool the jam
– Whisk the cornstarch with one tablespoon cold water in a small saucepan until smooth. Stir in the seedless raspberry jam.
– Cook over medium-low heat for approximately 2–3 minutes, stirring frequently, until the mixture bubbles and thickens. It should mound on a spoon rather than flow like a sauce.
– Scrape the filling into a shallow bowl and let it cool completely. Do not put warm jam onto the pastry. -
Cut Twelve Pastry Rectangles
– Heat the oven to 350°F (175°C). Line a rimmed baking sheet with parchment paper.
– Unroll the two pie crusts on a lightly floured surface. Use a ruler and sharp knife to cut twelve matching rectangles, approximately 3 by 4 inches each.
– Gently gather and reroll the scraps as needed. Avoid stretching the dough or rolling it paper-thin simply to make another piece.
– Pair similarly sized rectangles. You need six bottoms and six tops. Return the cut pastry to the refrigerator if it becomes soft or sticky. -
Fill the Bottoms
– Arrange six pastry bottoms on the lined baking sheet, leaving space between them.
– Divide the cooled filling evenly among them, using approximately 1 to 1½ tablespoons per pastry. Spread it gently while leaving a clean ½-inch border around every edge.
– Beat the egg with one teaspoon water. Brush the bare pastry borders lightly with the egg wash.
– Keep the filling away from the borders. If some jam reaches an edge, wipe it away before adding the top. -
Seal, Crimp, and Vent
– Place the remaining six pastry rectangles over the filled bottoms.
– Press gently around each filling pocket to push out trapped air, then press the borders together. Crimp all four sides firmly with a fork without cutting through the dough.
– Prick each top 3–4 times to give steam a way out. Brush the tops lightly with egg wash.
– If the dough becomes difficult to handle, chill the tray before continuing. -
Chill, Bake, and Cool
– Refrigerate the assembled pastries for 10 minutes.
– Bake at 350°F (175°C) for approximately 22–24 minutes, rotating the sheet once during baking.
– Look for golden edges and bottoms, not just a browned top. Carefully lift one pastry with a spatula to check underneath. If the underside is still pale, continue baking and check again shortly.
– Cool the pastries on the baking sheet for 10 minutes, then transfer them to a cooling rack. Let them cool completely before glazing. -
Glaze and finish
– Whisk the sifted powdered sugar, alcohol-free vanilla, and one tablespoon of the measured milk until smooth.
– Add the remaining milk gradually if needed. Stop when the glaze falls in a thick ribbon and stays on the pastry when spread.
– Spread the glaze over the cooled pastries, keeping the crimped borders visible. Add the red sprinkles while the glaze is wet.
– Let the glaze set for at least 20 minutes before packing or stacking the pastries. Allow longer if it still feels tacky.
Tips for Clean Seals
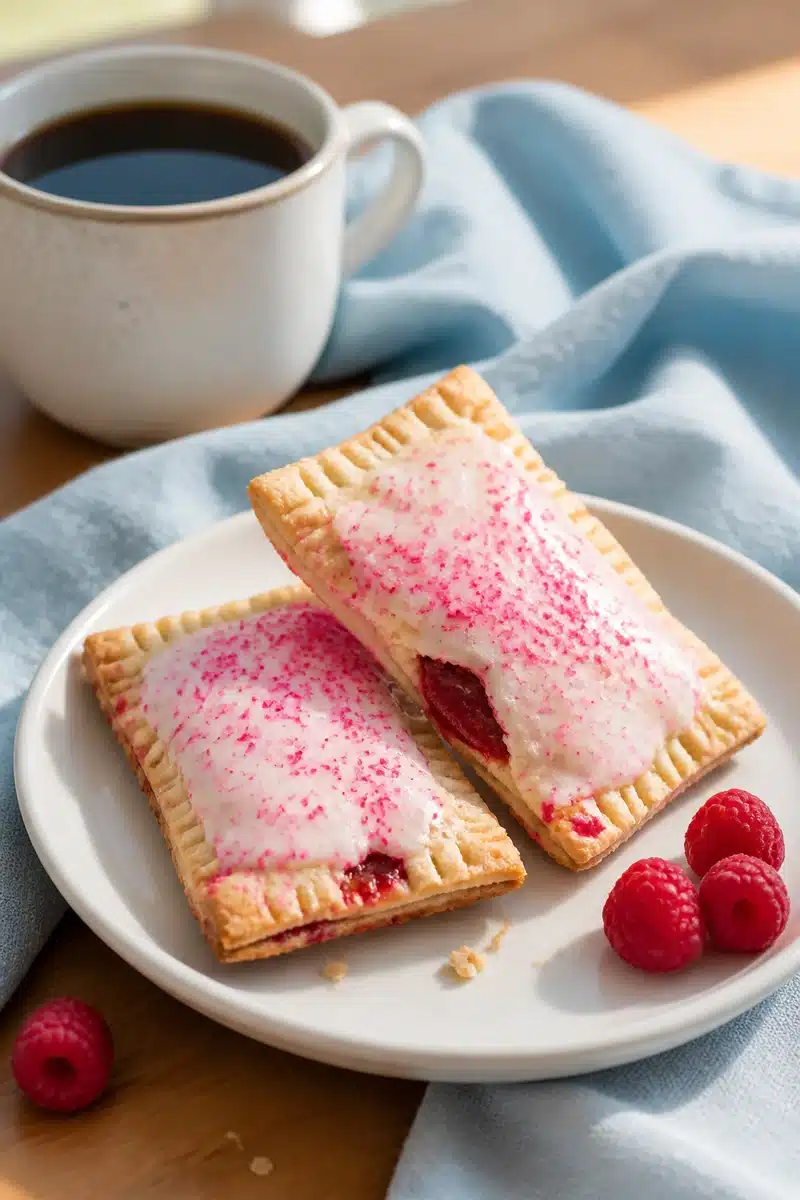
- Chill soft dough. Refrigerate the assembled pastries for 10 minutes before baking. If the dough is still soft or sticky, give it more time.
- Cool the filling completely. Warm jam softens the pastry and makes it harder to handle.
- Keep the filling layer low. The top should meet the bottom without stretching. Remove a little filling if necessary.
- Leave a clean border. A ½-inch rim gives the pastry layers room to join.
- Press before crimping. Use your fingers to close the borders, then reinforce them with the fork.
- Vent the tops. Small holes let steam escape without forcing the seams open.
Storage and Freezing
Room temperature
3 daysKeep glazed pastries covered once the icing is fully set.
Freeze before baking
1 monthFreeze sealed, vented pastries on a tray, then bag them. Bake from frozen, adding 4 to 6 minutes.
Freeze after baking
1 monthFreeze cooled pastries without glaze. Thaw overnight, warm gently, and glaze fresh.
More Homemade Pop Tart Ideas
If you enjoyed these raspberry pastries, try another filling or frosting:
- Another jam-filled option: Homemade strawberry pop tarts pair an all-butter crust with strawberry jam and a pink strawberry glaze.
- A cooked berry filling: Homemade blueberry pop tarts use fresh or frozen blueberries and finish with blueberry icing.
- A warm-spiced alternative: Homemade brown sugar cinnamon pop tarts swap the fruit for a brown sugar-cinnamon filling and cinnamon glaze.
Frequently Asked Questions
Save This Recipe
Save these raspberry jam pop tarts for a weekend breakfast or baking afternoon. Keep the dough cool, give the seams room to close, and wait until the pastries have cooled completely before glazing.