

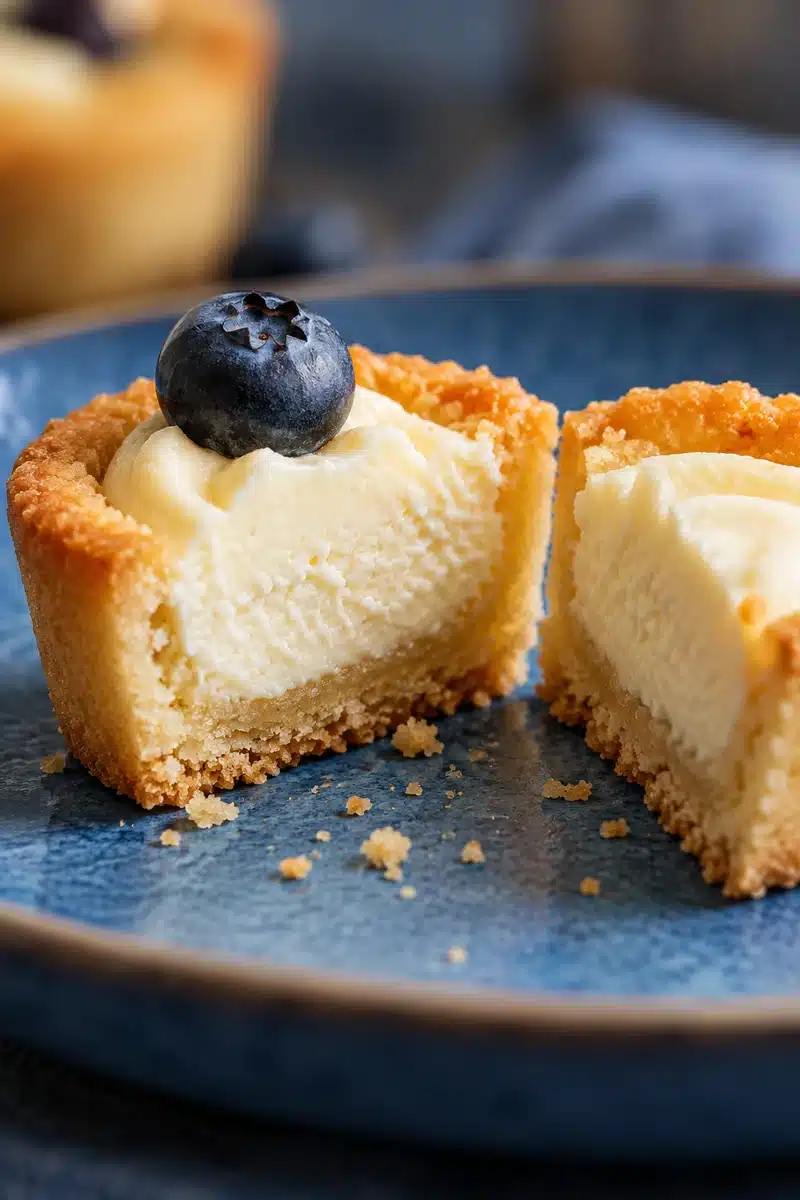
Cheesecake cookie cups are small baked sugar cookie shells filled with creamy vanilla cheesecake, garnished with a small berry or chocolate. The cookie cups are filled with cheesecake, turning the cookie into the edible cup with a golden rim around the pale, creamy middle.
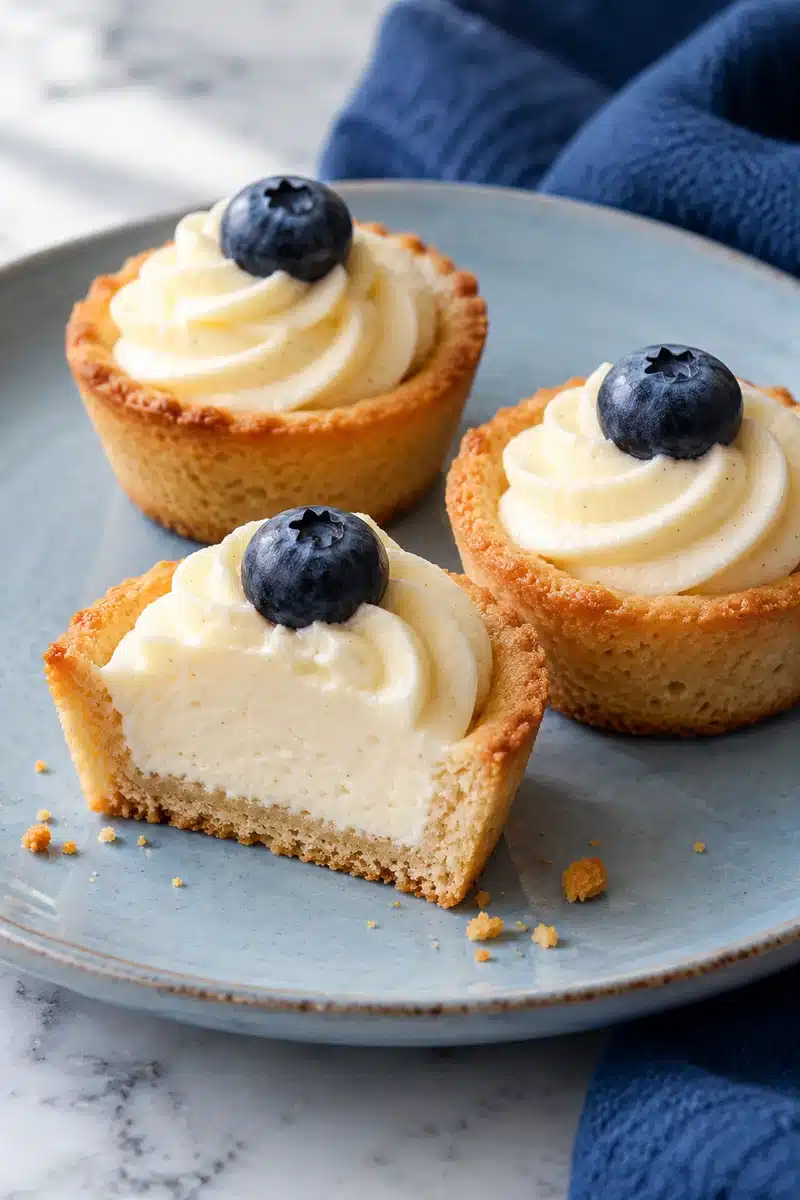
Bake the shells, reform the centers while warm, let set long enough to remove, then cool completely before filling and chilling. The shells and filling can be made separately, which makes filling them easier on serving day. The cheesecake filling is no-bake, but the full recipe does include the use of an oven.
Table of Contents
Why You Will Adore These Cheesecake Cookie Cups
A small individual dessert, with a different texture for the shell and the filling. The cookie should be firm enough to hold the cream but easy to bite after chilling. Decorating them lightly allows for the vanilla filling. Doing the parts separately means you can spread the work over two days.
Cheesecake Cookie Cups
Ingredients
Equipment
Method
- Whisk 180 g flour, 1/4 teaspoon baking powder and 1/4 teaspoon salt. In another bowl beat 113 g softened butter with 100 g granulated sugar for about 2 minutes until creamy. Beat in the egg and 1 teaspoon vanilla, scraping the bowl. Mix in the dry ingredients on low just until no dry flour remains. Cover and chill for 30 minutes. Heat the oven to 350°F (175°C). Lightly coat one 24-cavity nonstick metal mini muffin pan with flour-containing baking spray. Weigh 20 g dough into each cavity, roll into a ball and flatten slightly. Expect about 24 portions, with a small amount of dough left over; do not enlarge the cups to use it up.
- Bake on the middle rack for about 10-12 minutes, until the edges are light golden and the tops look set, not wet. While the cookies are still hot and pliable, gently press the rounded back of a metal teaspoon measure into each center. Create a roughly 1-inch-wide (2.5 cm) hollow about 1/2 inch (1.3 cm) deep, keeping at least 1/8 inch (3 mm) of cookie across the base and sides. Judge the dough resistance and stop before reaching the pan. Work around the pan promptly; press a puffed center again lightly if needed. Do not try to excavate a cold, hardened cookie.
- Rest the pan on a rack for about 8 minutes, then check one shell. Its rim should feel firm and the cup should move as one piece when gently nudged. Slide a thin flexible silicone spatula between shell and pan to loosen the edge, gently rotate, then lift from underneath while supporting the base. If it bends or crumbles, wait another 2-3 minutes before checking again. If it sticks, loosen around the whole circumference instead of pulling the rim. Transfer to a rack and cool completely, about 20 minutes more; allow longer if any warmth remains.
- Beat 226 g softened cream cheese alone until smooth. Beat in 40 g sifted powdered sugar and 1 teaspoon vanilla. In a separate chilled bowl, whip 120 ml cold heavy cream to firm peaks that stand up without looking grainy. Fold one third into the cheese mixture to loosen it, then gently fold in the rest until no streaks remain. The filling should hold a soft ridge and pipe without flowing flat. If loose, refrigerate for 20-30 minutes and reassess. Do not add egg to this filling.
- Only fill shells that are completely cool. Pipe or spoon about 1 level tablespoon (approximately 15 g) vanilla cheesecake filling into each cavity, with a small mound just above the rim. Divide remaining filling only where it fits without a tall top, or refrigerate it separately. Cover without touching the tops and chill for about 2 hours, until the filling holds its shape. Add one thoroughly dried small blueberry to each cup just before serving. For the firmest cookie bite, plan to serve after this initial chill rather than leaving filled cups overnight.
Notes
- Store cooled unfilled shells airtight at room temperature for up to 2 days. Refrigerate filling separately for up to 2 days at 40°F (4°C) or colder. Fill on serving day and allow about 2 hours to chill. Refrigerate assembled leftovers promptly and use within 2 days; the shells soften.
- Freeze unfilled, fully cooled shells in an airtight container for up to 1 month. Thaw in the closed container before filling; refrigeration is preferred for the filling.
- Serve chilled. Timing is approximate: 30 minutes active preparation, 30 minutes dough chilling, up to 12 minutes baking, about 30 minutes cooling and 2 hours chilling after filling.
Ingredients for Cheesecake Cookie Cups
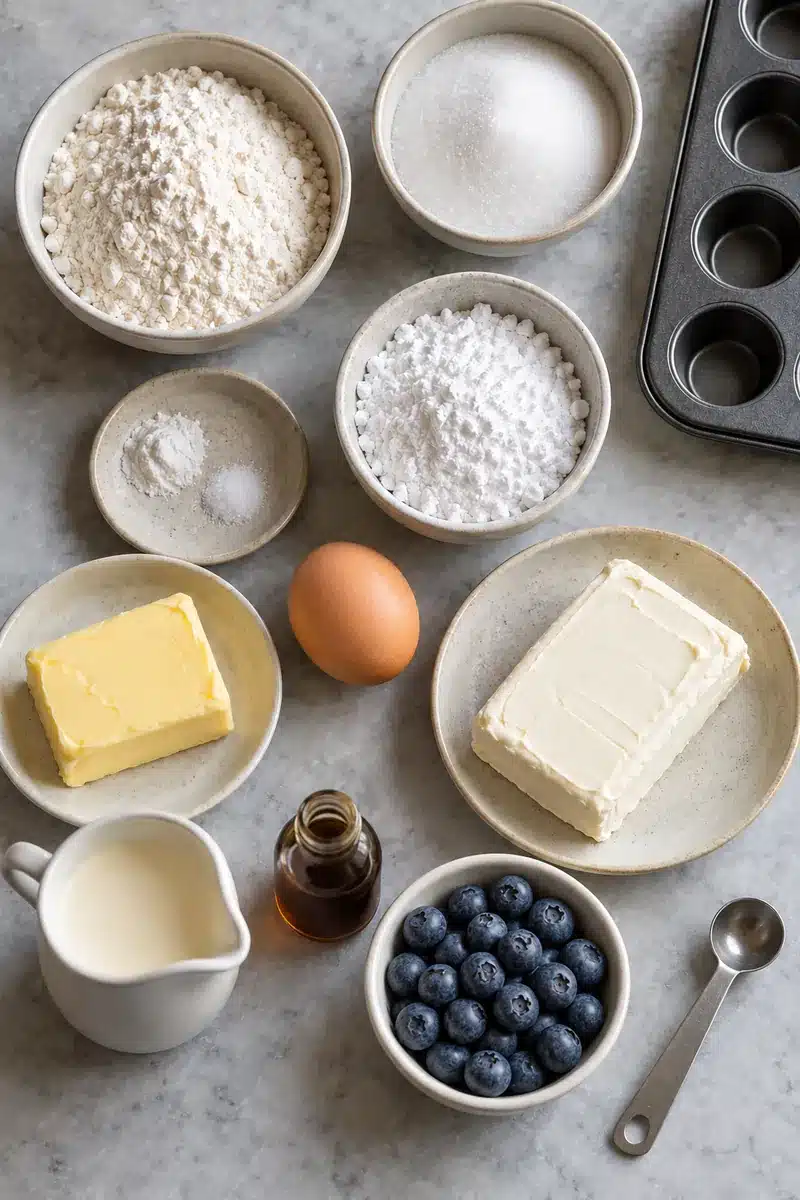
Homemade Sugar Cookie Shells
For sugar cookie cheesecake cups, a measured dough portion matters more than a generous scoop. These homemade sugar cookie cups for cheesecake use a modest amount of baking powder so there is less lift to press back down.
- 180 g all-purpose flour: weigh it; excess flour makes the dough dry and harder to shape.
- 113 g unsalted butter and 100 g granulated sugar: soften the butter until pliable without melting it.
- 1 large egg and 1 teaspoon vanilla: the egg belongs only in the baked dough.
- 1/4 teaspoon each baking powder and fine salt: measure carefully; extra leavening changes the hollow and wall thickness.
No-Bake Vanilla Cheesecake Filling
Soften the block cream cheese so it beats smooth, but keep the cream cold until whipping. A spreadable tub cheese can make a looser mixture.
- 226 g full-fat block cream cheese: beat out lumps before adding the cream.
- 40 g powdered sugar and 1 teaspoon vanilla: sift the sugar for smooth piping.
- 120 ml cold heavy whipping cream: whip separately to firm peaks, then fold gently to retain body.
Pan Preparation
Use a thin even coat of baking spray containing flour on the cavity bottoms, sides and top edges. Avoid pooled spray. Paper liners hide the cookie walls and are not used for this method.
Simple Topping Options
Use 24 small blueberries for the main finish, one per cup. Wash and dry them thoroughly. Other serving options are a few tiny pieces of fresh fruit, a pinch of chocolate shavings, or sprinkles. Add the chosen garnish just before serving so the filling stays visible and the topping does not add unnecessary moisture.
How to Make Cheesecake Cookie Cups
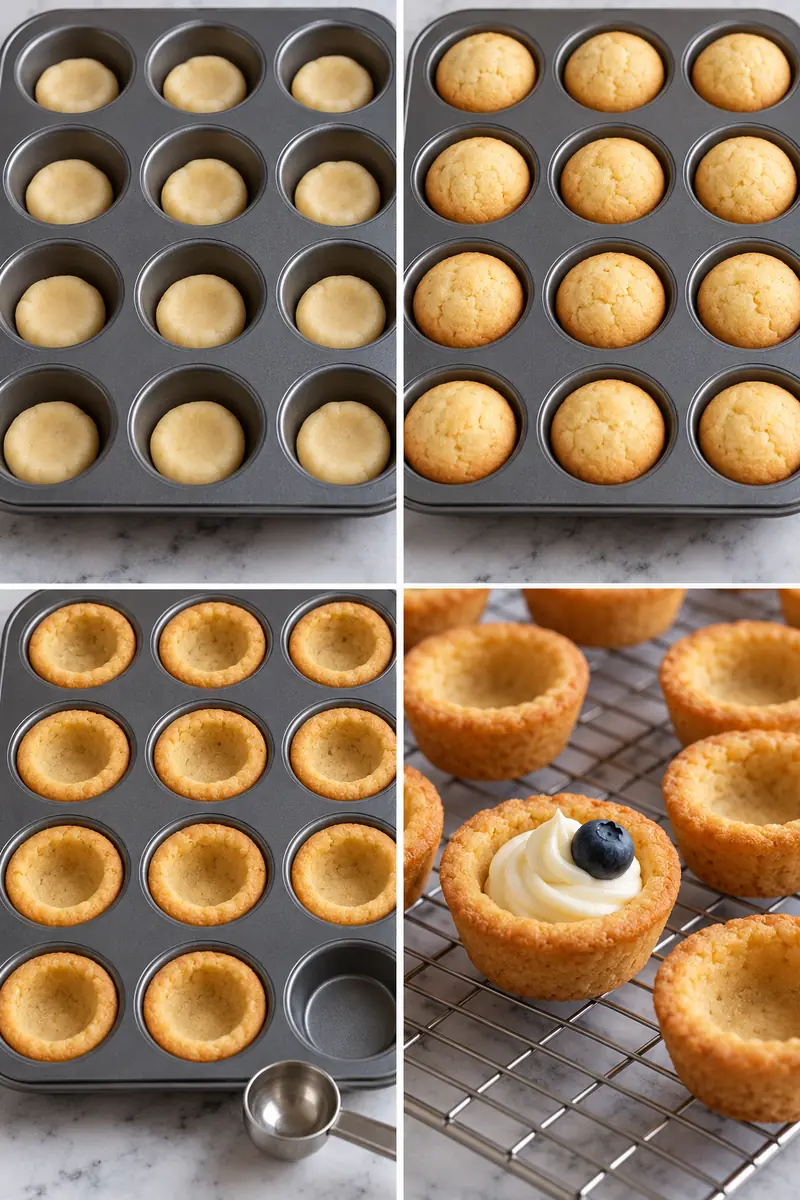
These cookie cups with no-bake cheesecake filling have two stages: bake and shape the shells first, then mix the filling and assemble once the shells are cold.
Total time: 3 hours and 42 minutes
Troubleshooting Cookie Cup Shells
A few simple adjustments can help prevent broken shells, sticky cups, or soft filling.
| Problem | How to Fix It |
|---|---|
| Centers puff up | Press them gently with a rounded teaspoon while still warm. |
| Shells break during removal | Cool for another 2–3 minutes and lift from underneath. |
| Cookies stick to the pan | Grease each cavity well and loosen the edges before lifting. |
| Bases are too thick | Use even dough portions and press the centers outward while warm. |
| Filling is too soft | Use block cream cheese, whip the cream to firm peaks, and chill before piping. |
| Cookie shells turn soggy | Fill closer to serving time and add dry garnishes at the end. |
Tip: Don’t force the cookie cups out of the pan. They should feel firm enough to lift without bending or breaking.
Make-Ahead and Storage Tips
These make-ahead cheesecake cookie cups are easiest to prepare when you store the shells and filling separately.

- Cookie shells: Bake up to 2 days ahead. Cool completely and store in an airtight container at room temperature.
- Cheesecake filling: Prepare up to 2 days ahead and refrigerate in a covered container.
- Assembly: Fill the cookie shells on serving day and refrigerate for about 2 hours.
- Fresh garnish: Add the blueberries just before serving to keep the cookie cups looking fresh.
- Leftovers: Refrigerate assembled cups at 40°F (4°C) or colder and enjoy within 2 days.
- Freezing: Freeze unfilled cookie shells in an airtight container for up to 1 month. Thaw in the closed container before filling.
Tip: For the crispest cookie base, keep the shells and filling separate until serving day. Once assembled, the cookies gradually absorb moisture and become softer.
For parties, keep the filled cups refrigerated until serving. Don’t leave them at room temperature for more than 2 hours, or 1 hour above 90°F (32°C).
Frequently Asked Questions
Save This Recipe
Save this recipe to keep the warm shaping and gentle removal cues close by.