

Last updated on September 7th, 2026 at 02:54 pm
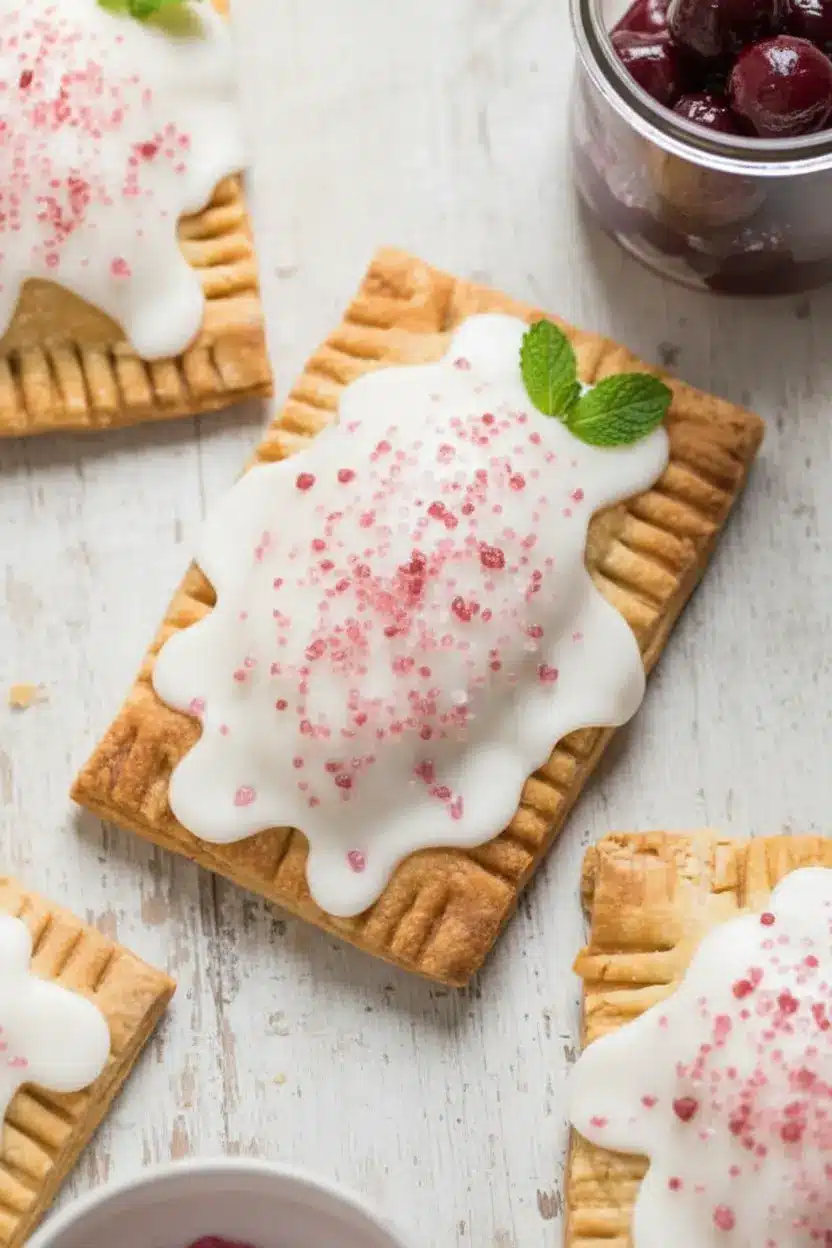
Homemade cherry pop tarts offer buttery dough, vivid cherry jam, and a lovely pink glaze in one nostalgic hand-held delight. The filling is ready in a few minutes from fresh or frozen cherries so you get authentic fruit flavor without opening a container or making a difficult preserve.
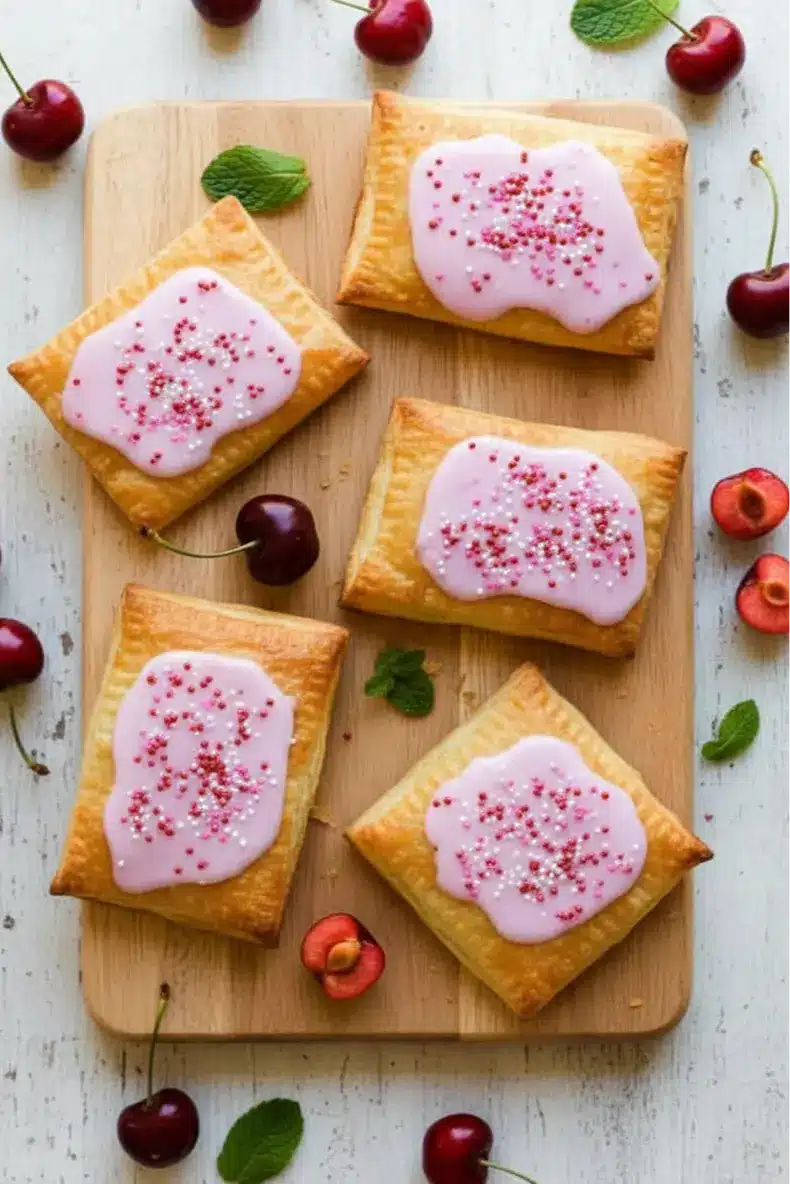
This quick cherry pop tart recipe yields 8 crisp rectangles with a soft inside and shiny cherry on top. You need to keep the jam cool . You need to leave a clean border . You need to seal the edges twice . Then bake . These are the little elements that separate a neat fruit filled pastry from a tray of oozing jam .
Table of Contents
Why These Homemade Cherry Pop Tarts Work
A fast stovetop cherry filling gives the pastries a bright fruit core while cornstarch makes the fluids thick enough to stay inside the dough. Chop the cherries small so they’re easy to measure out for the filling, and reserve a couple of tablespoons to produce a naturally pink glaze without food coloring.
I make the recipe friendly by using a refrigerated pie crust, which bakes up into crisp, flaky layers. The filled pastries need a little cool in the fridge before they go in the oven, to firm up the butter and keep the seam defined. This toaster-tart guide is a nice companion for technique information on sealing, venting and cooling.
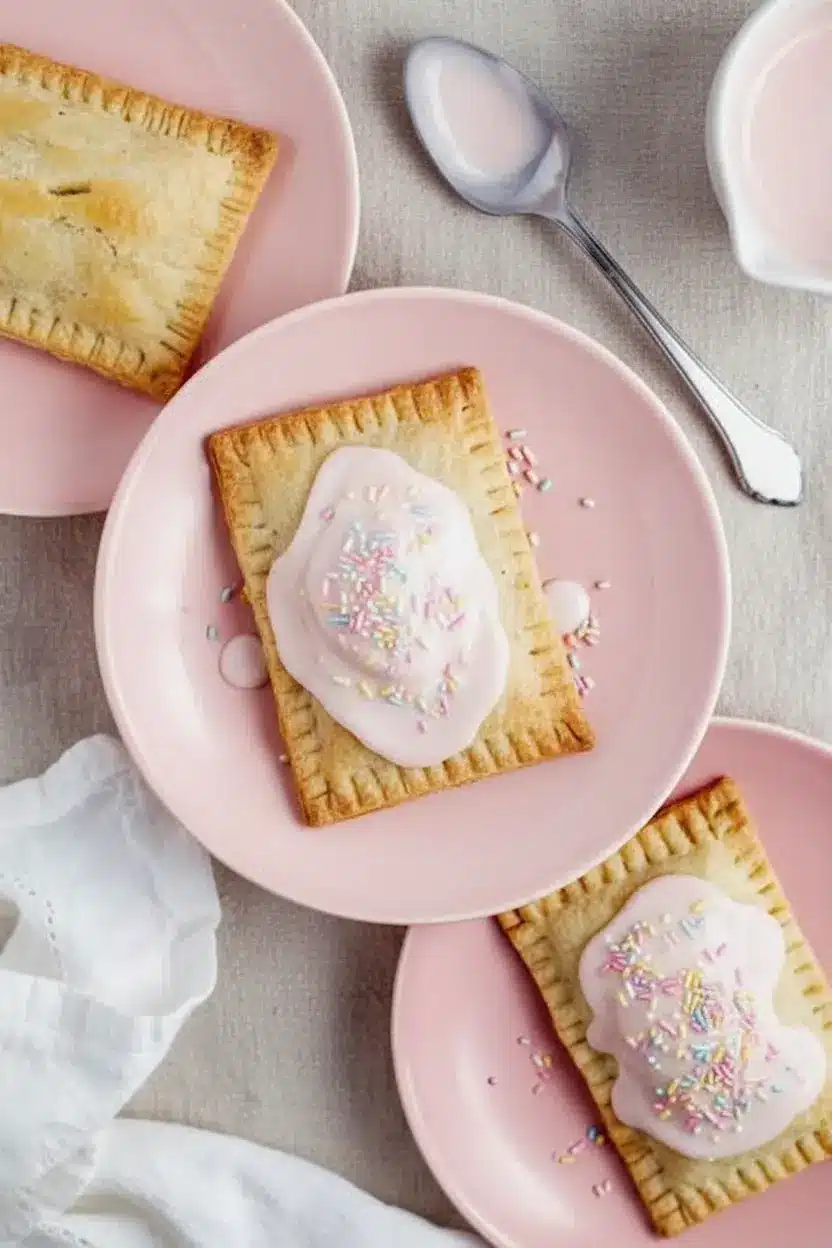
Homemade Cherry Pop Tarts
Ingredients
Equipment
Method
- Stir the chopped cherries, sugar, lemon juice, and salt in a medium saucepan over medium heat. Cook for 4 to 6 minutes until the cherries soften and the juices bubble. Stir in the cornstarch mixed with cold water and cook for 1 to 2 minutes, until thick. Reserve 2 tablespoons for the glaze and cool the rest completely.
- Heat the oven to 400 F and line a large rimmed baking sheet with parchment. Roll each cold crust into an 8-by-10-inch rectangle on a lightly floured surface. Cut each sheet into eight rectangles about 2 1/2 by 4 inches, keeping the pieces paired.
- Place eight rectangles on the prepared pan. Spoon a scant tablespoon of cold cherry filling into the center of each, leaving a clean 1/2-inch border. Beat the egg with water and brush the border. Cover with the matching pastry pieces, press outward to remove air pockets, seal with fingertips, and crimp all four sides with a fork.
- Cut three small vents in each top, brush lightly with egg wash, and chill the tray for 15 minutes. Bake for 16 to 20 minutes, rotating once, until lightly golden on top with deeper color around the crimped edges and firm, dry bottoms.
- Cool the pastries on the pan for 5 minutes, then move them to a rack for at least 15 minutes. Mash the reserved cherry filling through a fine-mesh sieve, stir in lemon juice, and whisk in powdered sugar until thick and spreadable. Spoon it over the cool pastries and add sprinkles.
Notes
- Store fully cooled glazed pastries in a covered container at room temperature for up to 2 days, with parchment between layers.
- Freeze shaped, unbaked pastries on a tray until firm, then transfer to an airtight container for up to 1 month. Bake from frozen, adding a few minutes if needed, and glaze after cooling.
- Warm baked unglazed pastries in a 300 F oven for 5 to 8 minutes. Avoid a slot toaster because the jam and glaze can drip or burn.
Ingredient Notes
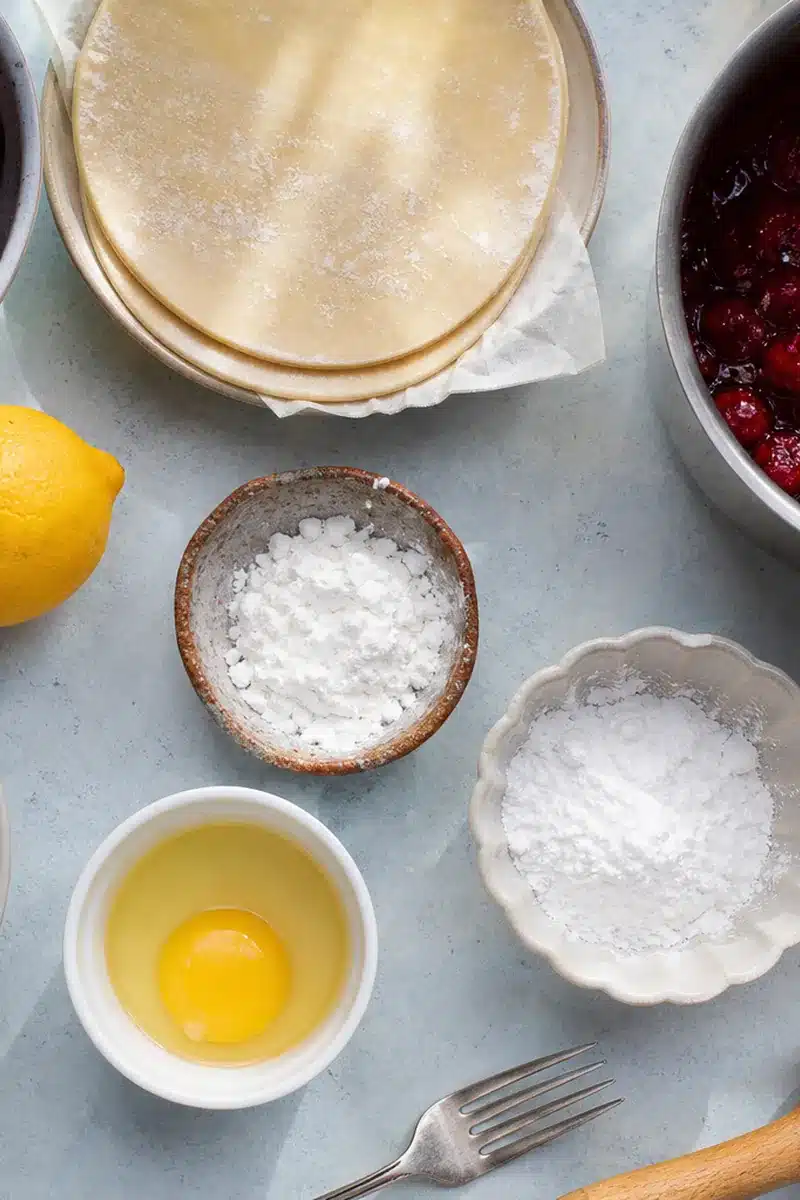
- Fresh or frozen cherries: Both work well. If using frozen cherries, do not thaw them first; cook them until soft, then allow the filling extra time to bubble and thicken.
- Cornstarch slurry: Mix the cornstarch with cold water before adding it to the pan. This keeps the filling smooth and prevents dry starch pockets.
- Refrigerated pie crust: Keep the crust cold and roll one round at a time. A cold dough is easier to cut cleanly and less likely to shrink.
- Egg wash: The egg and water glue the border and add color to the tops. Brush only on bare pastry, never across the cherry filling.
- Glaze and sprinkles: Sifting the powdered sugar helps the glaze turn smooth. Add the lemon juice gradually so the cherry flavor stays bright rather than sour.
- Allergen note: This recipe contains wheat, egg, and may contain milk depending on the pie crust. For gluten free cherry pop tarts, use a certified gluten-free pie crust and verify the frosting, sprinkles, and cornstarch labels; prevent cross-contact when baking for someone with an allergy.
How to Make Homemade Cherry Pop Tarts
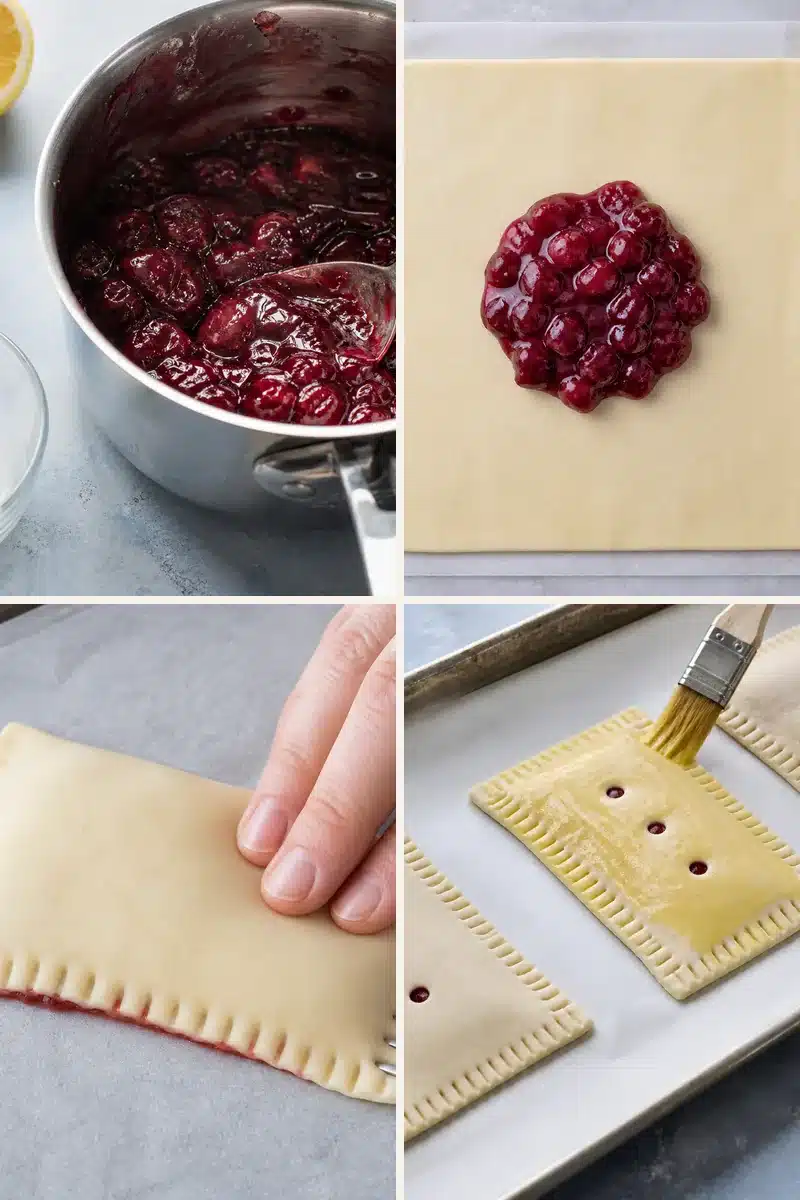
Cook and cool the cherry filling, cut cold pie crust into rectangles, seal and vent the pastries, bake until golden, then glaze.
Total time: 1 hour and 35 minutes
-
Cook the cherry filling
Stir the chopped cherries, sugar, lemon juice, and salt in a medium saucepan over medium heat. Cook for 4 to 6 minutes until the cherries soften and the juices bubble. Stir in the cornstarch mixed with cold water and cook for 1 to 2 minutes, until thick. Reserve 2 tablespoons for the glaze and cool the rest completely.
-
Roll and cut the pastry
Heat the oven to 400 F and line a large rimmed baking sheet with parchment. Roll each cold crust into an 8-by-10-inch rectangle on a lightly floured surface. Cut each sheet into eight rectangles about 2 1/2 by 4 inches, keeping the pieces paired.
-
Fill and seal the pop tarts
Place eight rectangles on the prepared pan. Spoon a scant tablespoon of cold cherry filling into the center of each, leaving a clean 1/2-inch border. Beat the egg with water and brush the border. Cover with the matching pastry pieces, press outward to remove air pockets, seal with fingertips, and crimp all four sides with a fork.
-
Vent, chill, and bake
Cut three small vents in each top, brush lightly with egg wash, and chill the tray for 15 minutes. Bake for 16 to 20 minutes, rotating once, until lightly golden on top with deeper color around the crimped edges and firm, dry bottoms.
-
Cool, glaze, and finish
Cool the pastries on the pan for 5 minutes, then move them to a rack for at least 15 minutes. Mash the reserved cherry filling through a fine-mesh sieve, stir in lemon juice, and whisk in powdered sugar until thick and spreadable. Spoon it over the cool pastries and add sprinkles.
The filling should look like a thick spoonable jam before it leaves the saucepan. If it still runs freely across the pan, cook it for another minute; a loose filling creates pressure inside the pastry and makes the seam more difficult to protect. Cool it in a shallow bowl so it loses heat quickly.
If a little cherry filling touches the pastry edge, wipe it away before adding egg wash. Jam is delicious, but it acts like a slick layer between the dough pieces. Press the top gently from the middle outward so trapped air can escape, then make the fork crimp your final seal.
For puff pastry cherry pop tarts, use thawed but still cold puff pastry, fill more lightly, and cut with a sharp blade. The result will be taller and airier than the pie-crust version. For homemade pop tarts with pie crust, the compact crisp texture is the best match for this method.
You can also use an air fryer for a small batch. Cook the chilled pastries in one uncrowded layer at 360 F for about 8 to 10 minutes, checking early because air fryers brown at different speeds. Cool fully before glazing.
Make-Ahead, Freezing, and Reheating
Room temperature
Up to 2 daysCover glazed pastries after the icing sets and separate layers with parchment.
Before baking
Up to 1 monthFreeze shaped unbaked pastries, then bake from frozen with a few extra minutes.
Gentle reheat
300 F for 5–8 minutesWarm unglazed pastries in the oven and decorate after they cool.
Frequently Asked Questions
These answers cover the most common questions about cherry filling, leak prevention, freezing, and alternative cooking methods.
Save This Recipe
Save this recipe for cherry season, weekend brunch, or the next time you want a bright homemade pastry that feels special without being fussy.