

Last updated on September 7th, 2026 at 02:54 pm
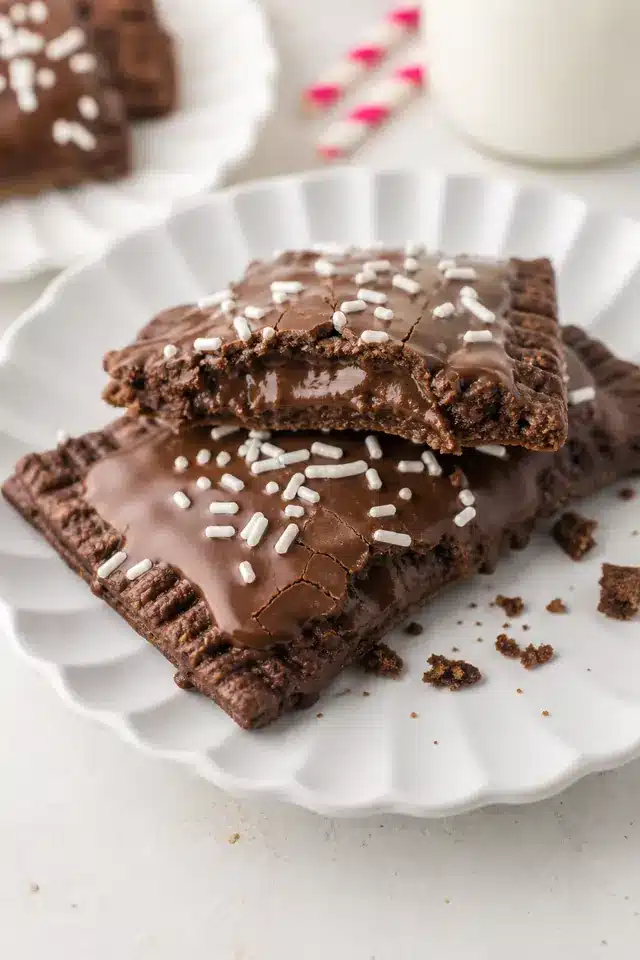
Homemade chocolate fudge pop tarts are for the baker who wants the boxed nostalgia, but with a deeper cocoa crust, a real fudge center, and chocolate glaze that dries neatly enough to stack. The key is not more filling; it is cooled filling, rested dough, clean borders, and a short freeze before baking.
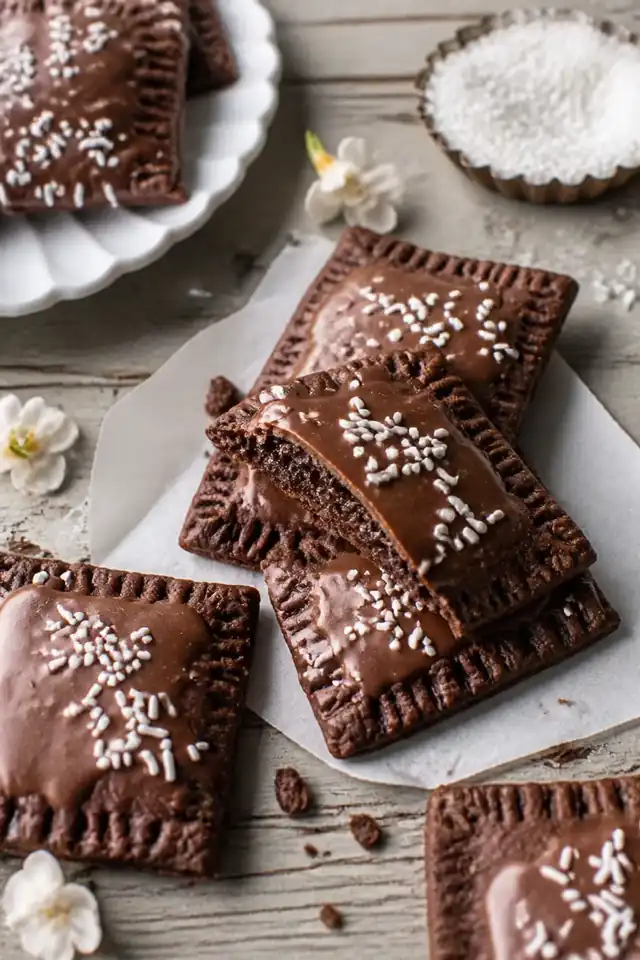
This easy homemade chocolate fudge pop tarts recipe uses a chocolate shortcrust pastry for pop tarts instead of a plain pie crust, so every bite tastes chocolatey before you even reach the filling. The method is patient, not difficult: chill the dough, let the fudge thicken, seal firmly, then glaze only after the pastries cool.
Table of Contents
Why These Homemade Chocolate Fudge Pop Tarts Work
Homemade chocolate fudge pop tarts work best when the pastry and filling have opposite textures. The dough needs enough butter to bake tender and crisp, while the fudge needs to cool into a spreadable paste that stays where you put it.
- Cocoa pastry: Unsweetened cocoa gives the crust a deep chocolate color without making the dough sticky.
- Cooled fudge: A cooked chocolate filling thickens as it rests, so it can be spread inside the border instead of running to the edge.
- Egg-wash seal: A light brush of egg wash helps the top and bottom pastry layers grip each other.
- Thin glaze: A glossy, thin chocolate layer sets faster than a thick puddle of icing.
Homemade Chocolate Fudge Pop Tarts
Ingredients
Equipment
Method
- Pulse flour, cocoa powder, granulated sugar, and salt. Add cold butter and pulse until the mixture has pea-size pieces. Add ice water just until the dough holds when squeezed.
- Divide the dough in half, press each half into a 1-inch-thick rectangle, wrap, and chill for at least 2 hours.
- Whisk cocoa powder, brown sugar, milk, salt, and half the chopped chocolate in a small saucepan over medium heat until smooth and thickened. Remove from the heat and stir in the remaining chocolate, butter, and vanilla. Cool until thick but spreadable.
- Roll each dough half to a 9-by-12-inch rectangle about 1/8 inch thick. Cut each sheet into nine 3-by-4-inch rectangles for 18 pieces total.
- Add about 1 tablespoon cooled fudge to each bottom rectangle, leaving a clean 1/2-inch border. Brush the border with egg wash, top with pastry, press out air, crimp firmly, and prick the tops.
- Freeze assembled pastries for 20 minutes while the oven heats to 375 degrees F (190 degrees C). Brush lightly with egg wash and bake 22-26 minutes until the edges look dry and set.
- Cool completely. Whisk powdered sugar, cocoa powder, corn syrup, milk, and vanilla into a thick but spreadable glaze. Spread thinly, add sprinkles, and let dry to a light touch.
Notes
- Keep the filling thick and cool before assembly to reduce leaks.
- Freeze assembled unbaked pastries for 20 minutes before baking, or freeze airtight for up to 1 month.
- Store glazed pastries in a single layer at room temperature for up to 2 days.
- Do not put glazed homemade pop tarts in a slot toaster.
Ingredient Notes
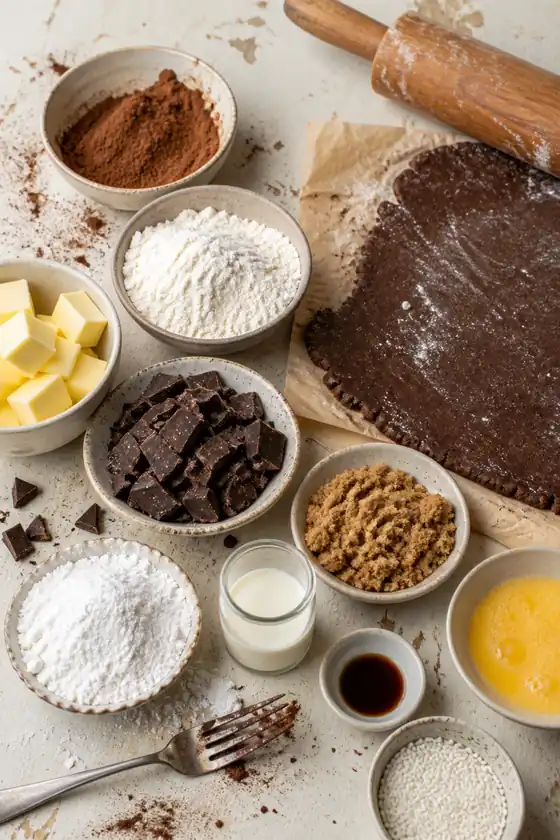
- Cocoa powder: Use unsweetened cocoa in both the dough and glaze. If the cocoa is lumpy, sift it before mixing.
- Cold butter: Keep it cubed and cold for the pastry. If it softens, chill the dough before rolling.
- Chopped chocolate: Finely chopped semisweet chocolate melts smoothly into the filling and gives a thicker center than cocoa alone.
- Corn syrup: A small amount in the glaze helps it dry smoother and shinier. Honey will taste stronger, so use corn syrup if you want a store-bought-style finish.
Chocolate dough can feel firmer than plain pastry because cocoa absorbs moisture. If it crumbles when you start rolling, pause before adding more flour. Let the dough warm slightly, press the edges back together, and roll with steady pressure instead of forcing it thin all at once.
How to Make Homemade Chocolate Fudge Pop Tarts
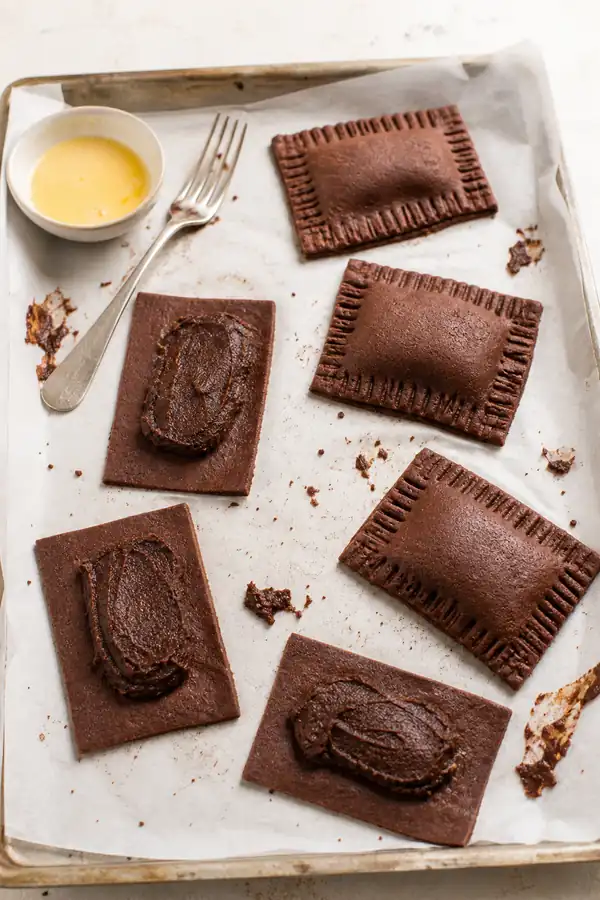
Follow these steps to make homemade chocolate fudge pop tarts with cocoa pastry, thick fudge filling, and chocolate glaze that sets.
Total time: 3 hours and 40 minutes
-
Make and chill the cocoa pastry
Pulse flour, cocoa powder, sugar, and salt. Add cold butter and pulse to pea-size pieces. Add ice water just until the dough holds together. Divide into two rectangles, wrap, and chill for at least 2 hours.
-
Cook the fudge filling
Whisk cocoa, brown sugar, milk, salt, and half the chocolate over medium heat until smooth and thick. Remove from heat, stir in remaining chocolate, butter, and vanilla, then cool until thick but spreadable.
-
Roll and cut
Roll each dough half to a 9-by-12-inch rectangle about 1/8 inch thick. Cut each sheet into nine 3-by-4-inch rectangles for 18 pieces total.
-
Fill and seal
Add about 1 tablespoon cooled fudge to each bottom rectangle, leaving a clean 1/2-inch border. Brush the border with egg wash, top with pastry, press out air, crimp firmly, and prick the tops.
-
Freeze and bake
Freeze assembled pastries for 20 minutes while the oven heats to 375 degrees F. Brush lightly with egg wash and bake 22-26 minutes until the edges look dry and set.
-
Glaze and set
Cool completely. Whisk powdered sugar, cocoa, corn syrup, milk, and vanilla into a thick but spreadable glaze. Spread thinly, add sprinkles, and let dry to a light touch.
Leak-Proof and Crack-Free Tips
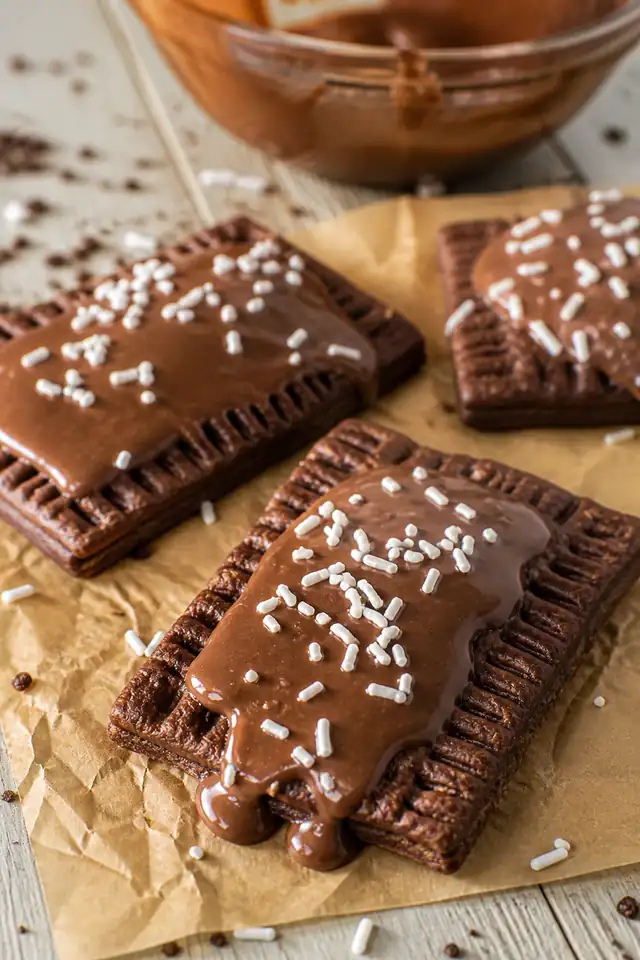
To stop filling leaks, cool the fudge until it mounds on a spoon, then spread it only in the center. A half-inch border looks generous, but it gives the egg wash and fork crimp enough room to make a strong seal.
If the dough cracks, it is usually too cold, too dry, or not rested enough. Let it sit for 5 minutes, patch tiny cracks with your fingers, and roll between cocoa-dusted parchment. King Arthur Baking’s pie crust guide is a useful reference for rolling and patching pastry without overworking it.
For glaze that hardens like store bought, keep it thick, spread it thin, and let it dry uncovered. The surface should lose its wet shine before the pastries are stacked. Melted chocolate helps the flavor, while corn syrup helps the finish set smoother.
For cleaner homemade chocolate fudge pop tarts, glaze only the center panel and leave the crimped border visible. That small border makes each pastry easier to pick up, keeps the glaze from dripping down the sides, and gives the finished batch the neat toaster-pastry look people expect.
Freezing, Dairy-Free Swaps, and Storage
You can freeze homemade chocolate fudge pop tarts before baking them. Freeze the sealed pastries on a tray until firm, then wrap airtight. Bake from frozen at the same temperature, adding a few minutes and watching for dry, set edges. Oregon State Extension’s freezing prepared foods guide supports freezing unbaked pastry and baked goods for make-ahead use.
For dairy free chocolate fudge pop tarts, use block-style dairy-free baking butter, plant milk, and dairy-free semisweet chocolate. Avoid tub spreads in the pastry if possible because they can make the dough soft and harder to crimp.
Store glazed pastries in a single layer at room temperature for up to 2 days. For longer storage, freeze baked pastries before glazing, then warm, cool, and glaze when ready. Do not put glazed homemade chocolate fudge pop tarts in a slot toaster.
If you need to transport them, wait until the glaze is fully dry, then place parchment between layers in a shallow container. A deep container can press the tops together and mark the glaze, even when it has set.
Frequently Asked Questions
More Homemade Pop Tart Ideas
If you are building a toaster-pastry board, try these homemade strawberry pop tarts, these homemade brown sugar cinnamon pop tarts, and these homemade s’mores pop tarts.
Save These Chocolate Fudge Pop Tarts
Save these homemade chocolate fudge pop tarts to your chocolate dessert, weekend baking, copycat recipe, or brunch board. They are rich enough for dessert, but structured enough to pack once the glaze has set.