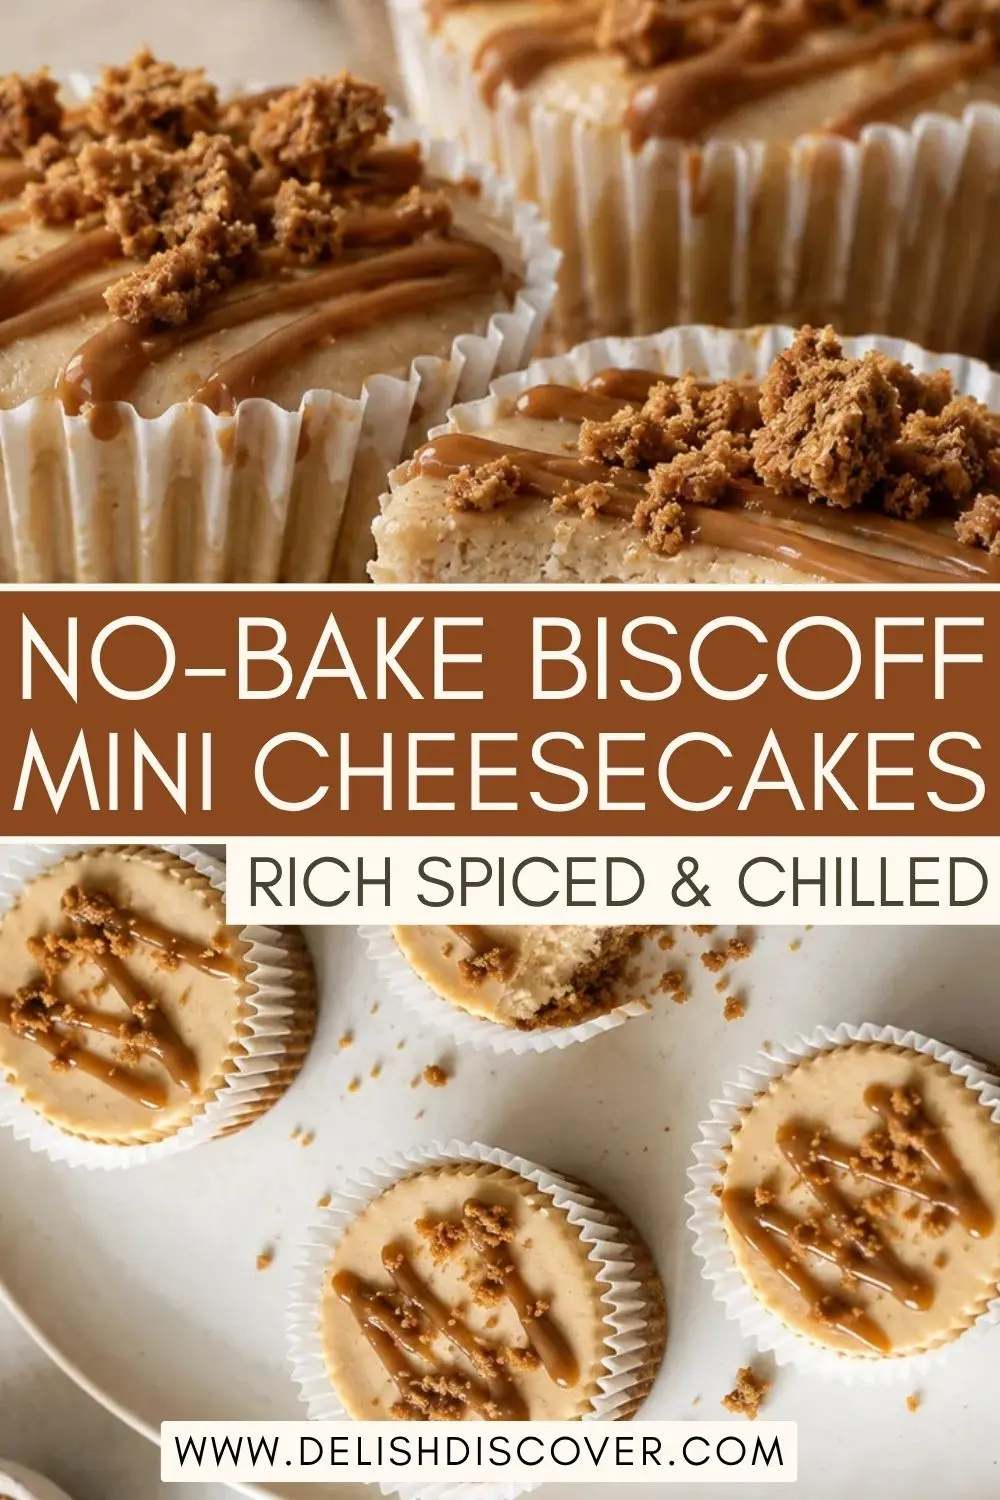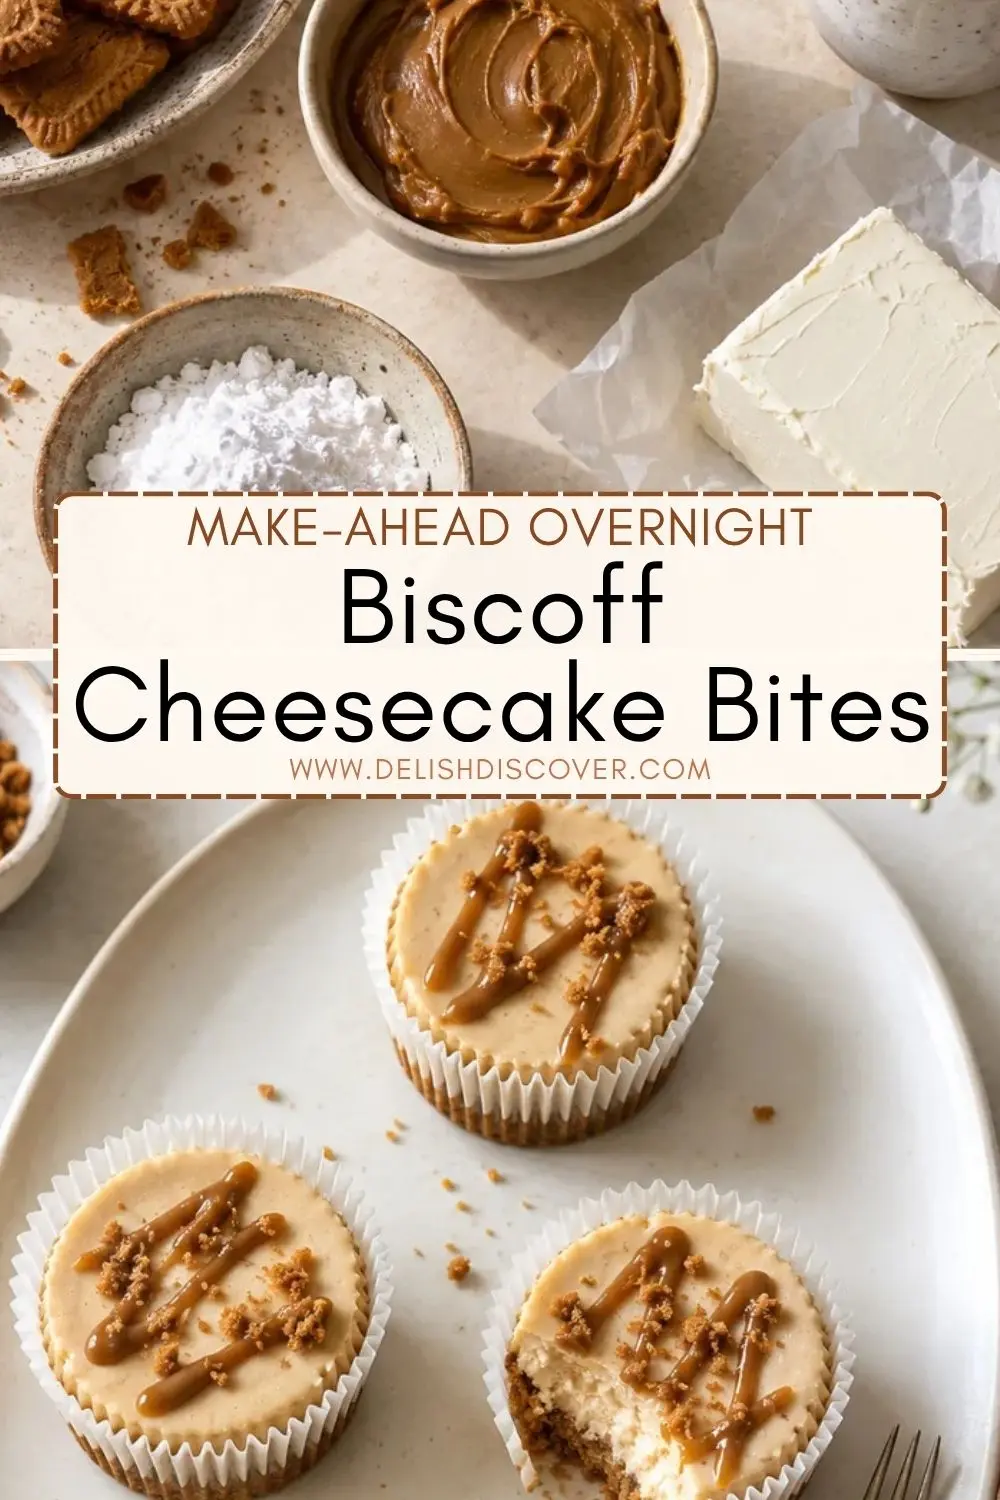

No-Bake Biscoff Mini Cheesecakes combine the warm cinnamon-caramel flavor of cookie butter with a tidy, individual dessert. Each paper liner has a hard spiced cookie crust and a light cream cheese filling, which is topped with a little drizzle or crumbs when ready to serve.
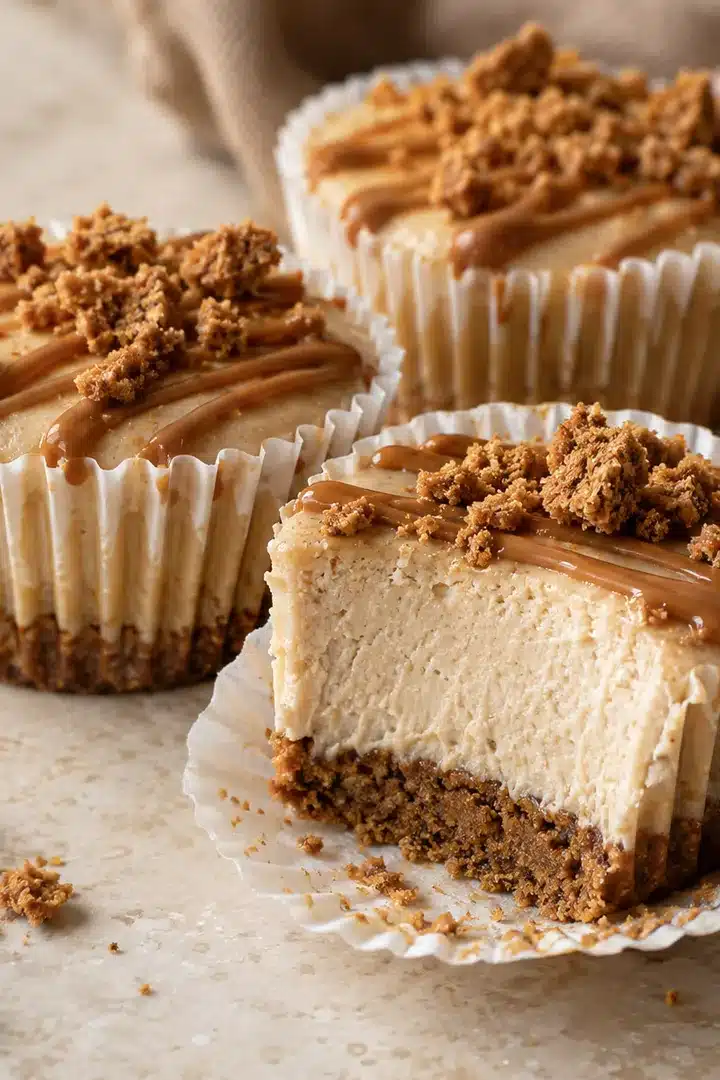
This recipe makes twelve muffins in a normal muffin tin and requires no oven or water bath. Use block cream cheese as a sturdy basis, beat the cream while it is cool, then refrigerate the filled cups for four hours to ensure the centers are cold, firm, and simple to serve.
Table of Contents
Why These No-Bake Biscoff Mini Cheesecakes Work
Without baking, fine cookie crumbs and melted butter combine to form a solid foundation. Pack each part firmly with the bottom of a measuring cup; this compact layer provides a sturdy base for the creamy filling and allows the paper liner to pull away easily after chilling.
The filling’s airy quality comes from a two-part mixing procedure. First, beat the softened block cream cheese, powdered sugar, cookie butter, and vanilla until creamy. Separately, whipped cream is gently mixed in, keeping the mixture light enough for a delicate taste while yet forming neat individual servings.
No-Bake Biscoff Mini Cheesecakes
Ingredients
Equipment
Method
- Place 12 paper liners in a standard 12-cup muffin pan. Set the pan on a tray or cutting board so it can move to the refrigerator without disturbing the filled cups.
- Stir the fine Biscoff crumbs with melted butter until every crumb looks evenly damp. Divide between the liners, then press firmly into flat, compact layers with a spoon or small measuring cup. Refrigerate while you make the filling.
- Beat the softened cream cheese until smooth. Add powdered sugar, the one-third cup cookie butter, and vanilla. Beat again, scraping the bowl as needed, until the mixture is creamy with no visible cream cheese lumps.
- In a separate chilled bowl, whip the cold heavy cream to medium peaks. The cream should hold a soft curl when the beaters lift, with a smooth, glossy surface.
- Fold the whipped cream into the cookie-butter base in three additions with a rubber spatula. Spoon or pipe the filling over the cold crusts, dividing it evenly, then smooth or swirl the tops.
- Cover the pan loosely and refrigerate for at least 4 hours or overnight. Just before serving, drizzle with gently warmed cookie butter, add whipped cream if using, and finish with a few cookie crumbs.
Notes
- Refrigerate covered cheesecakes within two hours and use within 4 days.
- Freeze untopped mini cheesecakes in an airtight container for up to 1 month. Thaw overnight in the refrigerator before decorating.
- Do not reheat. Serve chilled.
Ingredient Notes for Cookie Butter Cheesecake
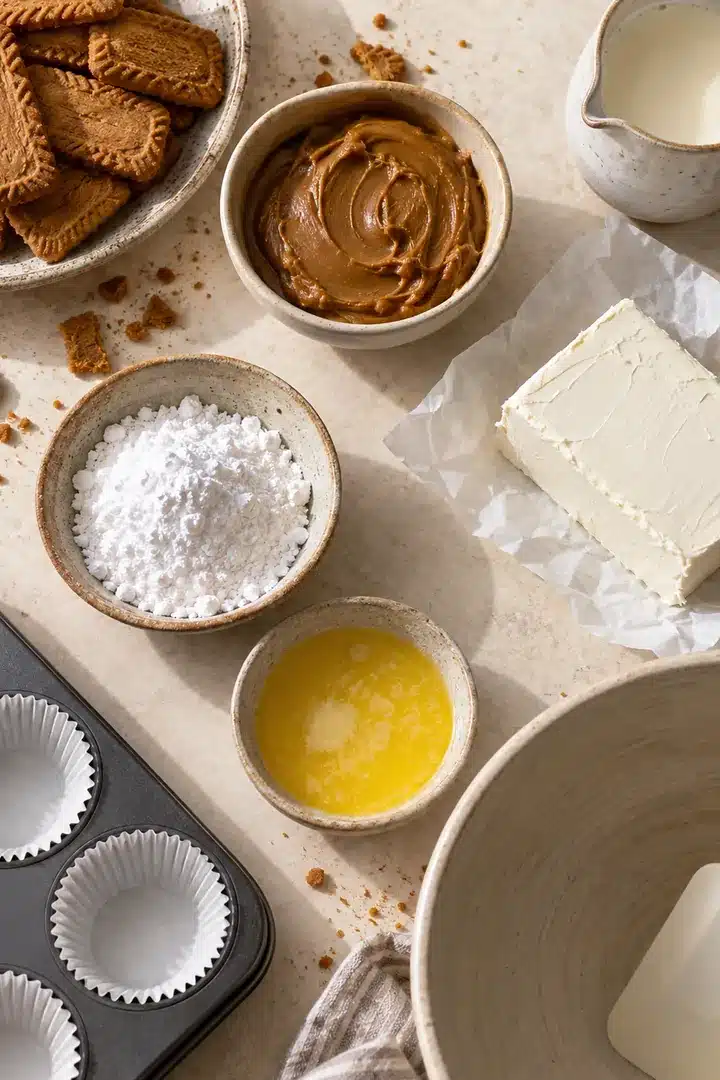
- Biscoff cookies: Crush the cookies into fine, even crumbs for the crust. A food processor is quick, but a sealed bag and rolling pin work well. Keep a few cookies coarsely crushed if you want a textured topping.
- Smooth cookie butter: Choose the smooth spread for the filling so it blends without lumps. Warm a small separate portion only for the optional drizzle; heating the filling ingredient would loosen the structure.
- Full-fat block cream cheese: Use the foil-wrapped brick style, softened until it blends smoothly. Tub-style cream cheese has extra moisture and can leave the filling soft.
- Very cold heavy cream: Cold cream whips more reliably. Stop at medium peaks: it should hold a soft point when the beaters lift, but still look glossy rather than grainy.
- Powdered sugar: Its fine texture dissolves neatly in a chilled filling. Granulated sugar can remain gritty in a no-bake dessert.
How to Make No-Bake Biscoff Mini Cheesecakes
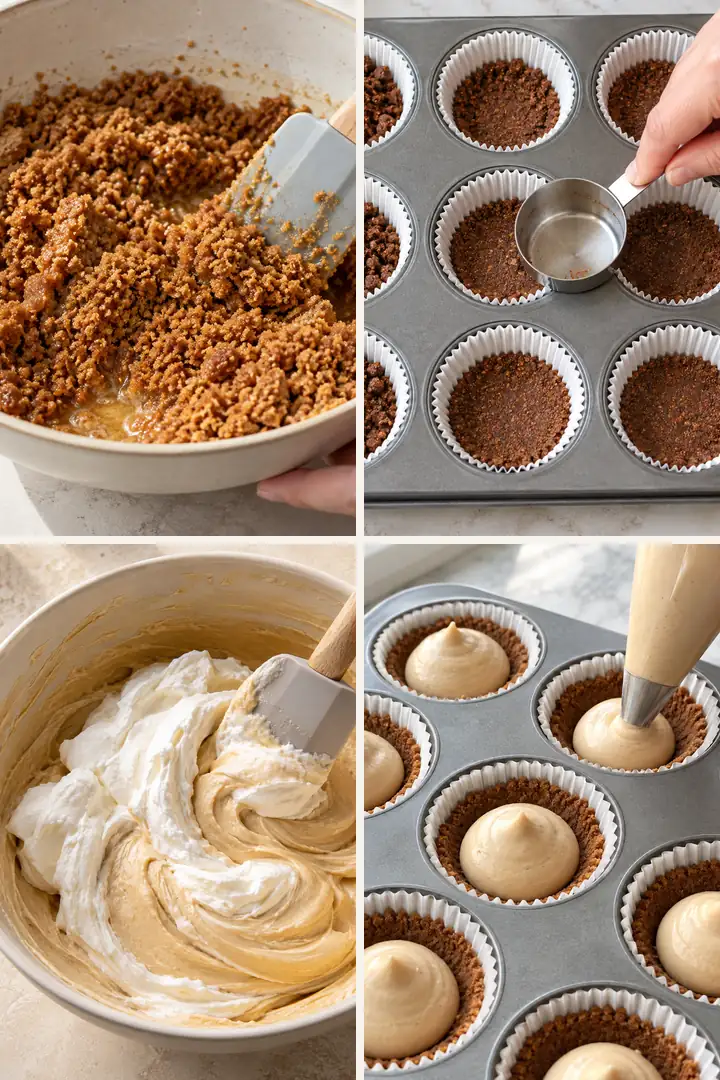
Line a muffin pan, press in the cookie crust, beat a smooth cookie-butter base, fold in whipped cream, fill the cups, and chill until firm.
Total time: 4 hours and 35 minutes
-
Line the muffin pan
Place 12 paper liners in a standard 12-cup muffin pan. Set the pan on a tray or cutting board so it can move to the refrigerator without disturbing the filled cups.
-
Make and press the crust
Stir the fine Biscoff crumbs with melted butter until every crumb looks evenly damp. Divide between the liners, then press firmly into flat, compact layers with a spoon or small measuring cup. Refrigerate while you make the filling.
-
Beat the cookie-butter base
Beat the softened cream cheese until smooth. Add powdered sugar, the one-third cup cookie butter, and vanilla. Beat again, scraping the bowl as needed, until the mixture is creamy with no visible cream cheese lumps.
-
Whip the cream
In a separate chilled bowl, whip the cold heavy cream to medium peaks. The cream should hold a soft curl when the beaters lift, with a smooth, glossy surface.
-
Fold and fill
Fold the whipped cream into the cookie-butter base in three additions with a rubber spatula. Spoon or pipe the filling over the cold crusts, dividing it evenly, then smooth or swirl the tops.
-
Chill until firm, then finish
Cover the pan loosely and refrigerate for at least 4 hours or overnight. Just before serving, drizzle with gently warmed cookie butter, add whipped cream if using, and finish with a few cookie crumbs.
For a tidy finish, create the crusts first and chill in the refrigerator while you combine. The chilled foundation improves the filling’s landing point, and lining the pan before mixing makes the procedure calm and efficient.
A batch of biscoff cheesecake cups is especially useful for a gathering because each dish fits into its own liner. If you don’t want to unmold your no bake cheesecake cups, you may make them in little glasses instead. If you prefer a less sweet ending, forgo the drizzle and instead dust the chilled tops with finely broken cookies.
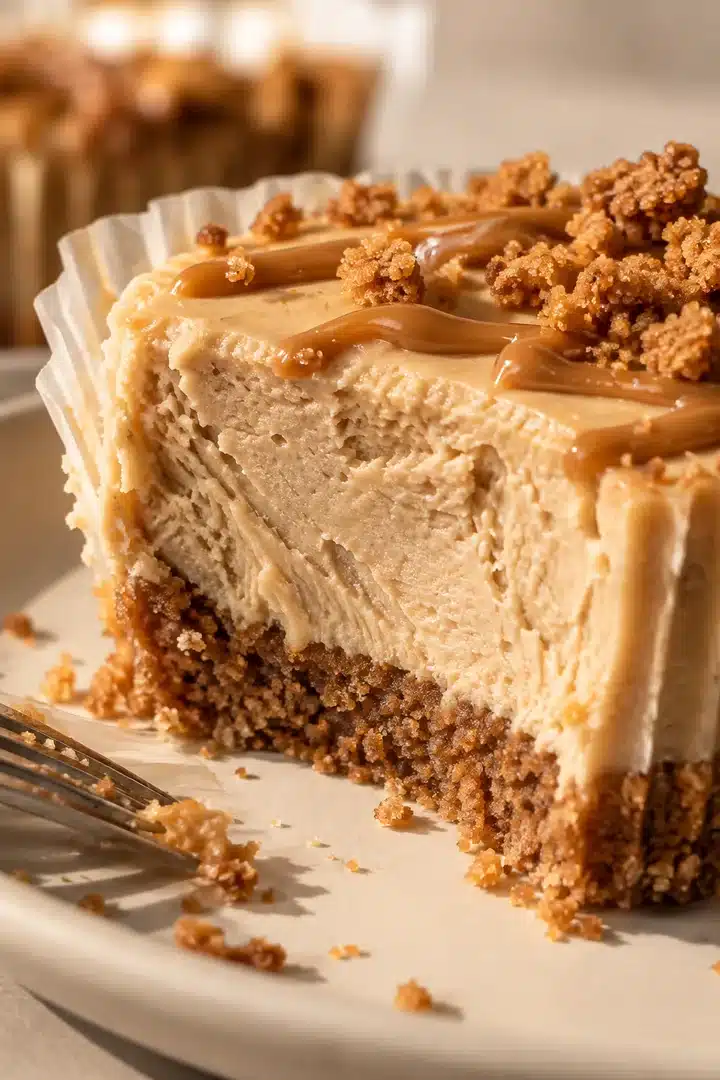
For the smoothest mini biscoff cheesecakes, don’t rush the final chilling. The very minimum is four hours, but an overnight rest is perfect for a dessert table that may be prepared ahead. When you lightly touch a liner, the core should feel solid rather than loose or jiggly.
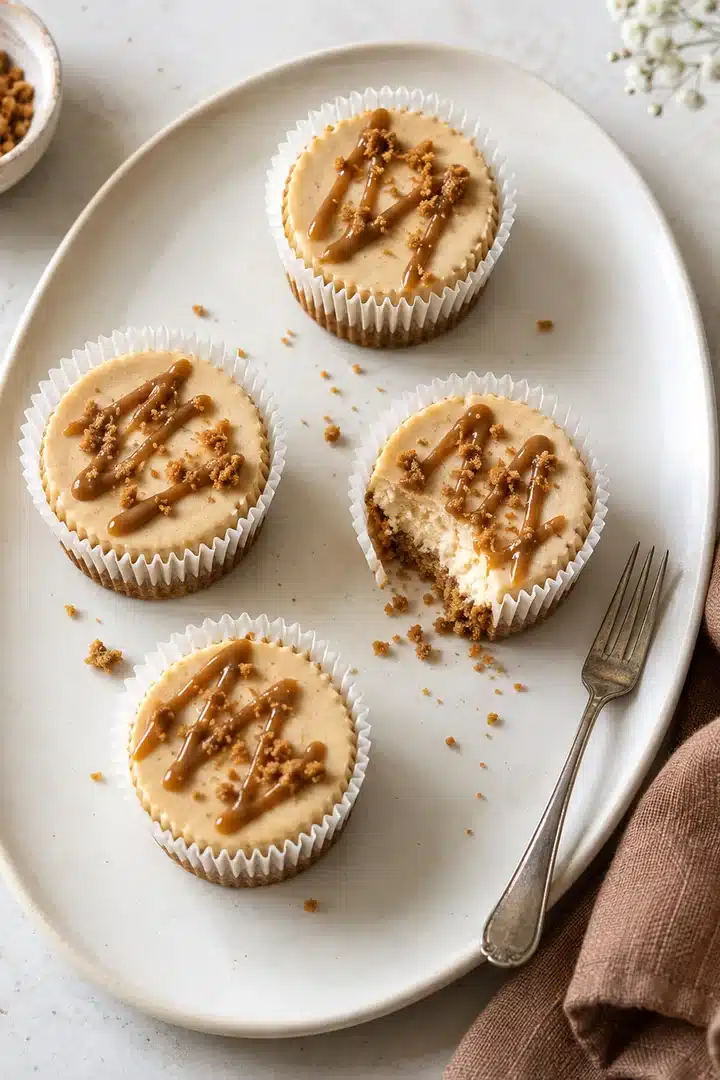
Easy Ways to Finish These Cheesecakes
Simple and lightly sweet
Top with a few fine crumbs only. The cookie butter already brings caramelized spice to every bite.
Party-ready finish
Pipe a small whipped-cream swirl, then add a thin cookie-butter drizzle and a pinch of coarse crumbs just before serving.
Dessert-cup option
Make this lotus biscoff dessert in small glasses instead of liners. Spoon in crust and filling, chill as directed, and serve without unmolding.
Storage and Freezing
Refrigerator
Up to 4 daysKeep covered and add whipped topping or a fresh drizzle close to serving time.
Freezer
Up to 1 monthFreeze portions without topping in an airtight container, then thaw overnight in the refrigerator.
Serve
ChilledReturn dairy desserts to the refrigerator within two hours and serve them cold for the best set.
Frequently Asked Questions
These answers cover the practical details that make individual no-bake cheesecake cups easier to prepare and serve.
Save These No-Bake Biscoff Mini Cheesecakes
Save this recipe for the next birthday, potluck, or holiday dessert table. The individual portions can be made ahead, chilled overnight, and finished in minutes.