

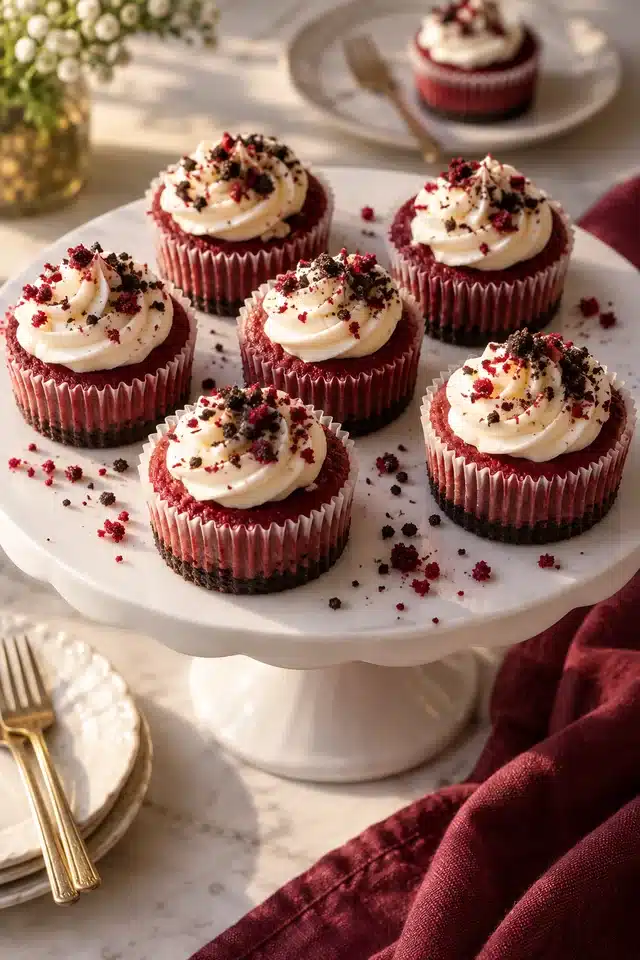
Mini Red Velvet Cheesecakes pack a tidy dose of the subtle cocoa notes of red velvet cake and the cool, tangy decadence of cheesecake. Each ruby red section sits on a dark chocolate cookie base and is topped with a soft white swirl of cream cheese making the color and texture especially eye catching on a dessert tray.
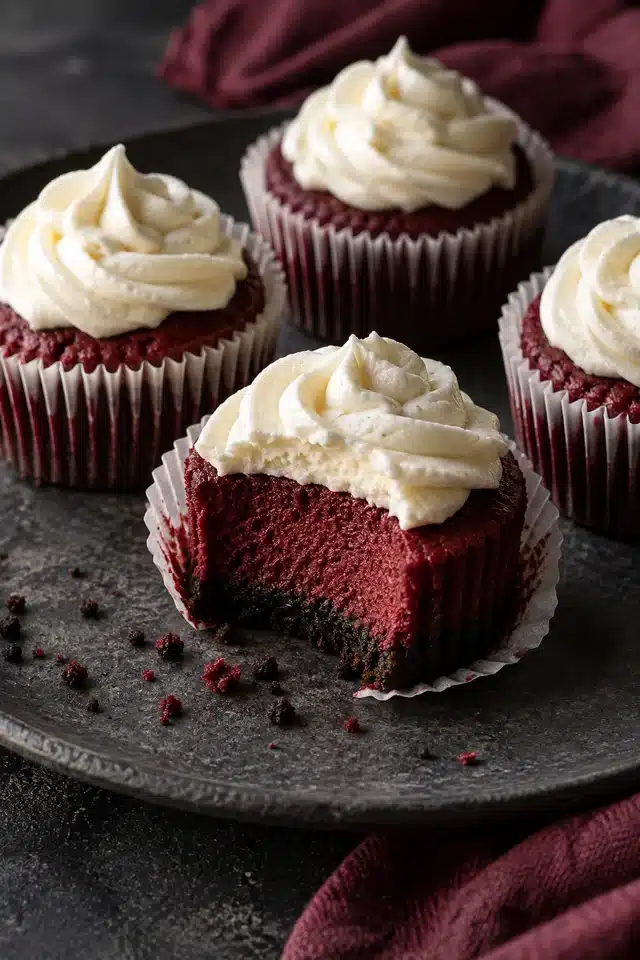
This recipe makes twelve portions in a regular muffin pan. The batter comes together quickly, but the best texture depends on three little quiet things: softened block cream cheese, low-speed mixing once the eggs are in, and pulling the pan off active heat when the very centers still have a little wobble.
Table of Contents
Why These Mini Red Velvet Cheesecakes Work
Red velvet should taste lightly chocolaty, tangy, and creamy rather than like a deeply flavored chocolate dessert. One tablespoon of natural cocoa is enough to round out the filling while leaving room for the sour cream, cream cheese, vanilla, and tiny splash of vinegar to create that familiar red velvet balance. Gel coloring supplies the deep ruby tone without adding much extra liquid.
The cookie base is intentionally thin and compact. It supports each cheesecake when the liner peels away, but it does not compete with the filling. Using the cream-filled sandwich cookies also means the crust needs only a small amount of added butter to hold together.
Eggs give a baked mini red velvet cheesecake recipe its clean, custardy set. Mixing them on low prevents the batter from trapping too much air, which can make the little cakes rise dramatically and then sink. A slight dip is normal as cheesecake cools; a deep collapse is more often a sign of overmixing or overbaking.
Small portions bake evenly enough that you do not need to place the muffin pan in a water bath. If your oven runs dry or hot, set a shallow pan of hot water on the rack below for gentle steam. It is optional, and it keeps water away from the paper liners.
Mini Red Velvet Cheesecakes
Ingredients
Equipment
Method
- Heat the oven to 325°F and line a 12-cup muffin pan. Mix fine cookie crumbs with melted butter, press them firmly into the liners, and bake for 5 minutes.
- Beat the softened cream cheese on medium-low until smooth. Add sugar, mix just until combined, then scrape the bowl and beater completely.
- Mix in sour cream, natural cocoa, vanilla, vinegar, salt, and red gel coloring on low until the batter is evenly ruby-red.
- Add the eggs one at a time on low speed. Stop as soon as the streaks disappear, then divide the batter among the crusts.
- Bake for 18 to 22 minutes, until the edges are set and the small centers wobble softly. Turn off the oven, crack the door for 10 minutes, then cool the pan on a rack for 45 minutes.
- Refrigerate at least 2 hours. Whip cream cheese, powdered sugar, vanilla, and cold cream to medium-stiff peaks, then pipe or spoon onto the cold cheesecakes.
Notes
- Refrigerate covered for up to 4 days. For the neatest topping, decorate no more than 1 day before serving.
- Freeze the fully chilled cheesecakes without topping in an airtight container for up to 1 month; thaw overnight in the refrigerator and decorate before serving.
- Do not reheat. Serve chilled or let stand at cool room temperature for 10 minutes before serving.
Ingredient Notes
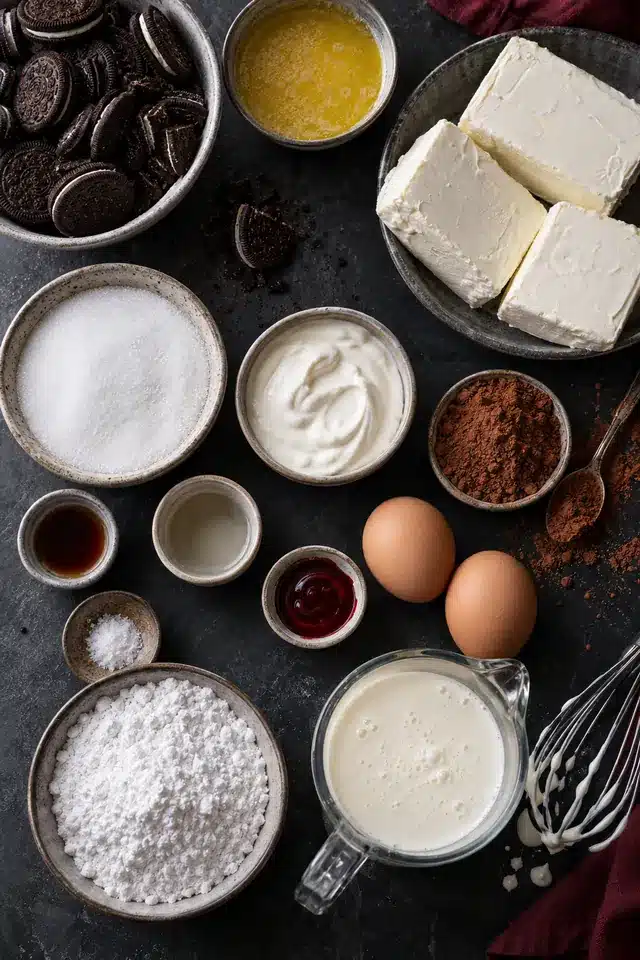
- Chocolate sandwich cookies: Crush the whole cookies, filling included, until the crumbs are fine. They create a sturdy chocolate cookie crust cheesecake base with very little added butter.
- Block cream cheese: Use full-fat cream cheese sold in blocks, not whipped or tub-style spread. Let it soften until a finger leaves an easy dent so it blends without lumps.
- Natural cocoa powder: Natural cocoa has the lighter, slightly tangy chocolate character associated with red velvet. Dutch-process cocoa tastes darker and can mute the bright red color.
- Sour cream and vinegar: Sour cream loosens the dense cream cheese base and adds tang. A teaspoon of white vinegar sharpens the flavor without making the filling taste sour.
- Red gel coloring: Start with one teaspoon and add the final half teaspoon only if needed. The baked color will look a little deeper than the raw batter.
- Room-temperature eggs: Eggs blend more quickly when they are not refrigerator-cold, which helps you stop mixing before too much air enters the batter.
How to Make Mini Red Velvet Cheesecakes
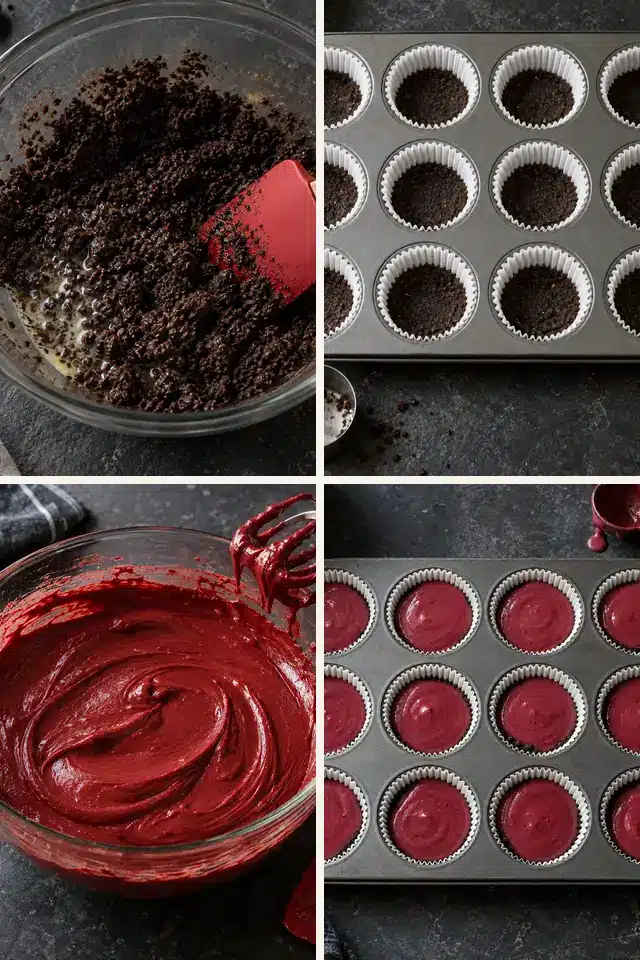
Bake the thin cookie bases first, mix the filling gently, and rely on the center wobble rather than a firm top to judge the oven time.
Total time: 3 hours and 52 minutes
-
Prepare and prebake the crusts
Heat the oven to 325°F and line a 12-cup muffin pan. Mix fine cookie crumbs with melted butter, press them firmly into the liners, and bake for 5 minutes.
-
Smooth the cream cheese
Beat the softened cream cheese on medium-low until smooth. Add sugar, mix just until combined, then scrape the bowl and beater completely.
-
Add the red velvet flavor
Mix in sour cream, natural cocoa, vanilla, vinegar, salt, and red gel coloring on low until the batter is evenly ruby-red.
-
Mix in the eggs gently
Add the eggs one at a time on low speed. Stop as soon as the streaks disappear, then divide the batter among the crusts.
-
Bake and cool gradually
Bake for 18 to 22 minutes, until the edges are set and the small centers wobble softly. Turn off the oven, crack the door for 10 minutes, then cool the pan on a rack for 45 minutes.
-
Chill and decorate
Refrigerate at least 2 hours. Whip cream cheese, powdered sugar, vanilla, and cold cream to medium-stiff peaks, then pipe or spoon onto the cold cheesecakes.
The batter should look smooth and glossy, not fluffy. Once the eggs are added, keep the mixer at its lowest useful speed. Scrape by hand instead of running the machine longer; that small habit protects the creamy texture and reduces surface bubbles.
For evenly sized red velvet cheesecake cupcakes, portion the batter with a cookie scoop or a quarter-cup measure. The liners should be about three-quarters full. One light tap of the pan releases large bubbles, but repeated banging can knock air through the filling and disturb the pressed crust.
Begin checking at 18 minutes. The outer ring should look dry and gently puffed, while the center remains slightly satiny. If the whole top ripples, bake 2 minutes longer. If the center is completely firm and domed, it has gone past the creamiest stage.
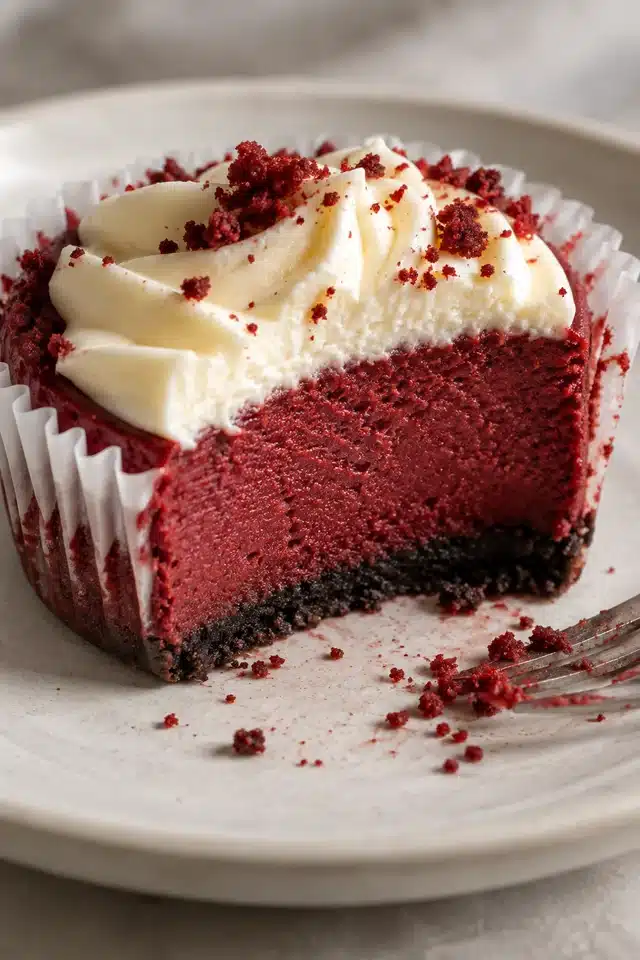
Cool the cakes before covering them. Trapping steam inside the container can make the tops damp and weaken the piped topping. Once chilled, the liners should pull away cleanly and the filling should cut without looking dry or crumbly.
Storage and Make-Ahead
Refrigerator
Up to 4 daysKeep covered; for the neatest swirls, add the topping no more than one day ahead.
Freezer
Up to 1 monthFreeze untopped in an airtight container and thaw overnight in the refrigerator.
Serving
ColdSet out for about 10 minutes if you prefer a slightly softer, creamier bite.
Frequently Asked Questions
Save These Mini Red Velvet Cheesecakes
Among Valentine’s Day mini desserts, these ruby cheesecakes are especially easy to portion and prepare ahead. Save the recipe for holiday trays, bridal showers, or any celebration that calls for an individual dessert.