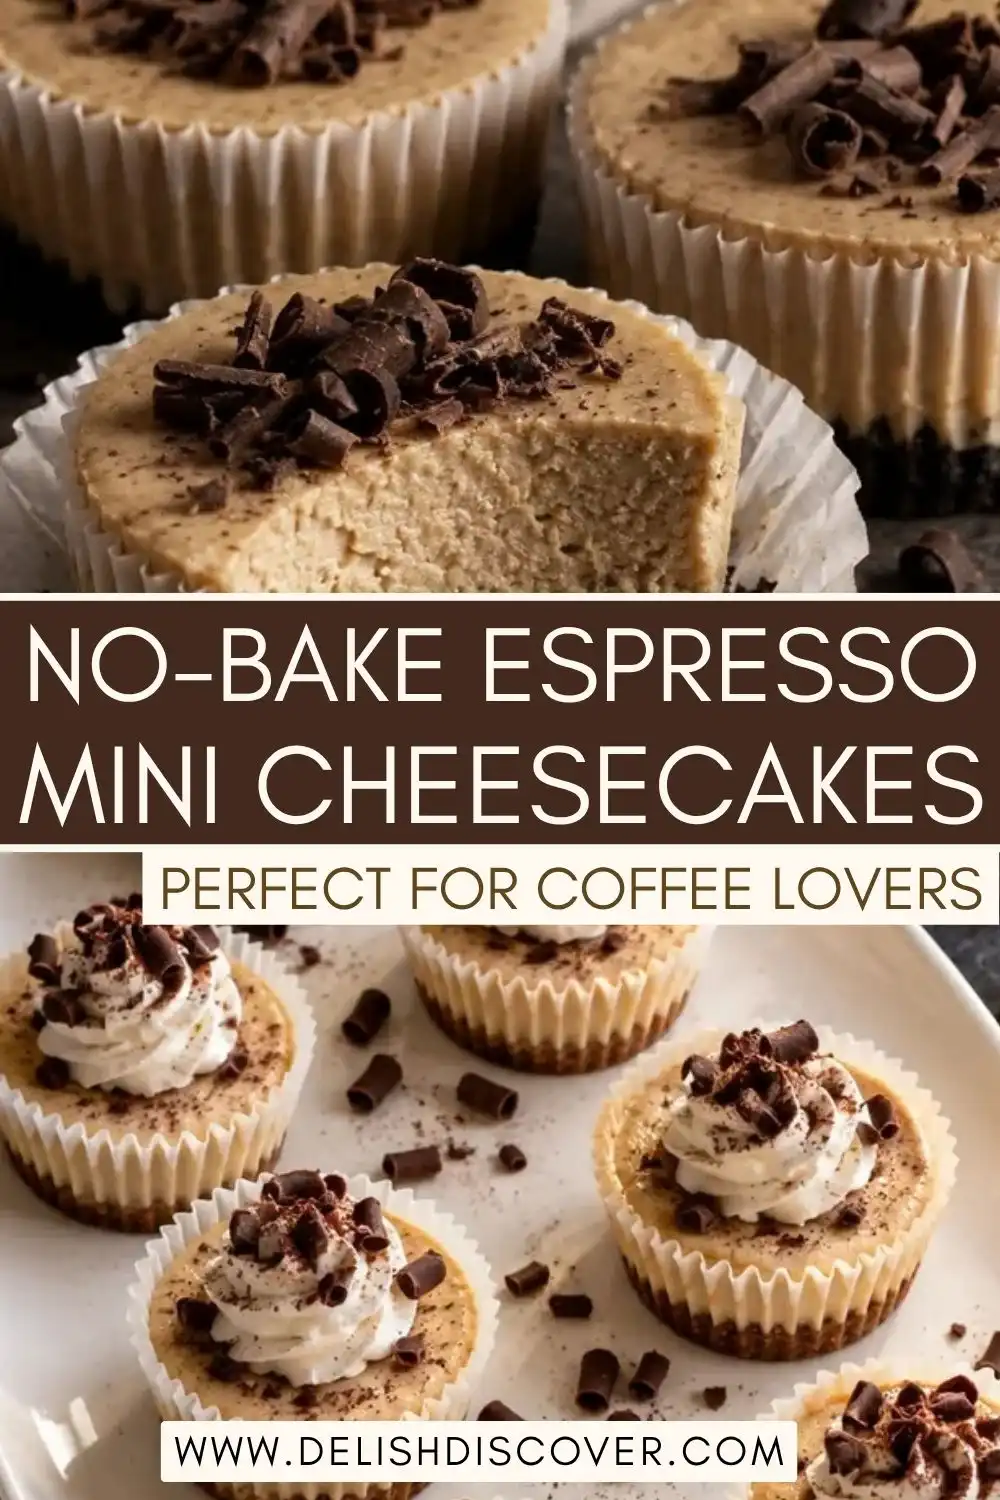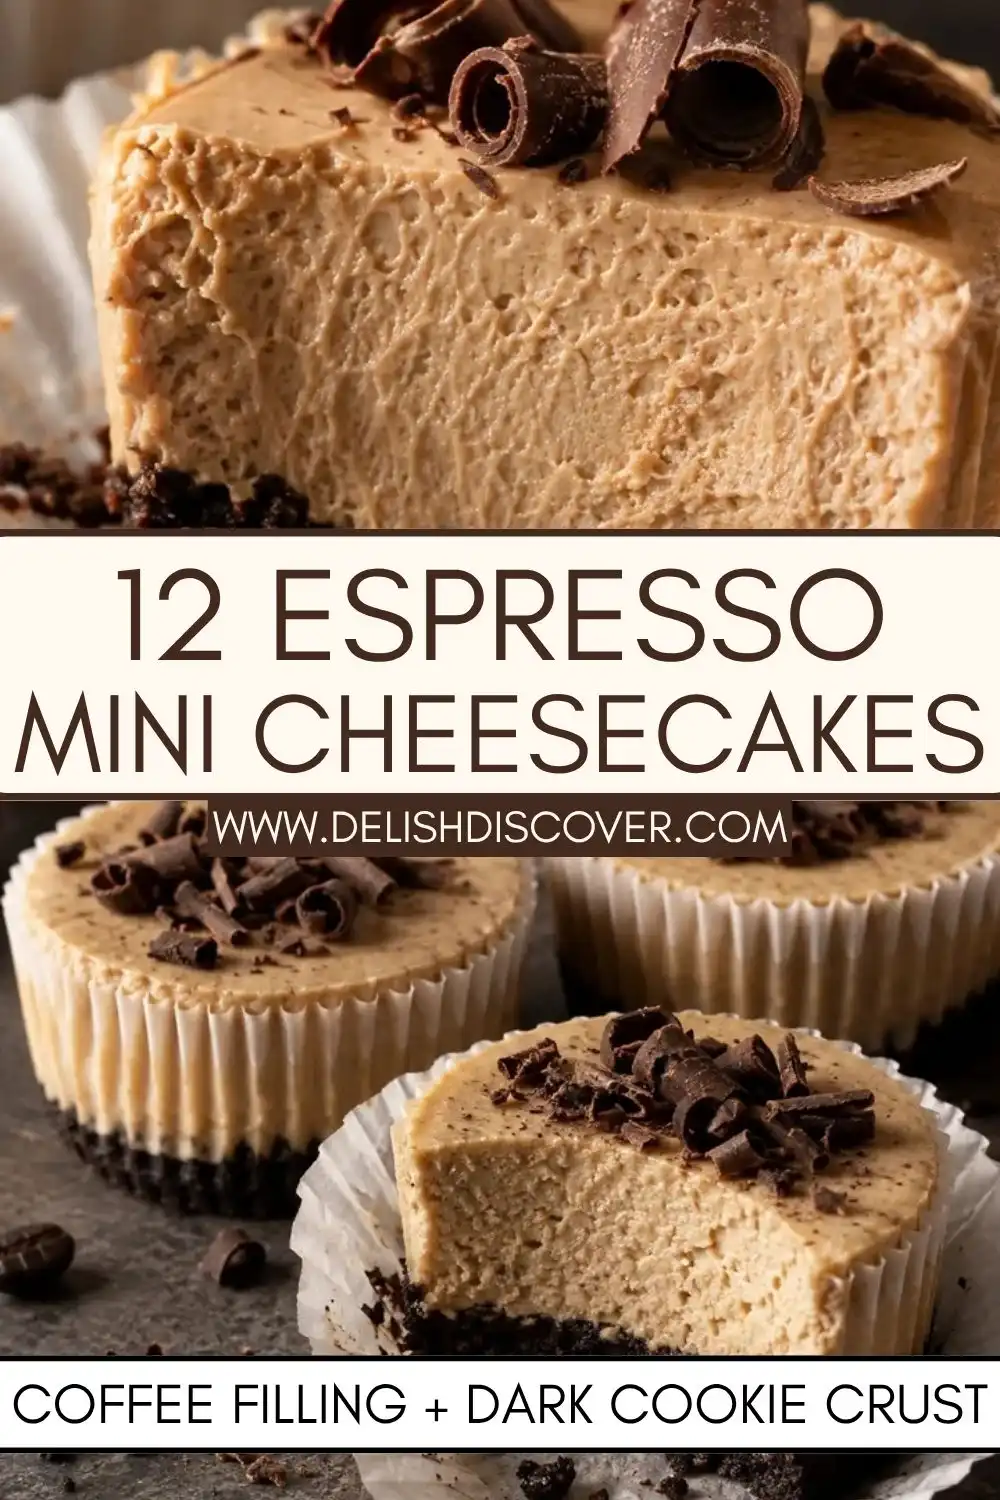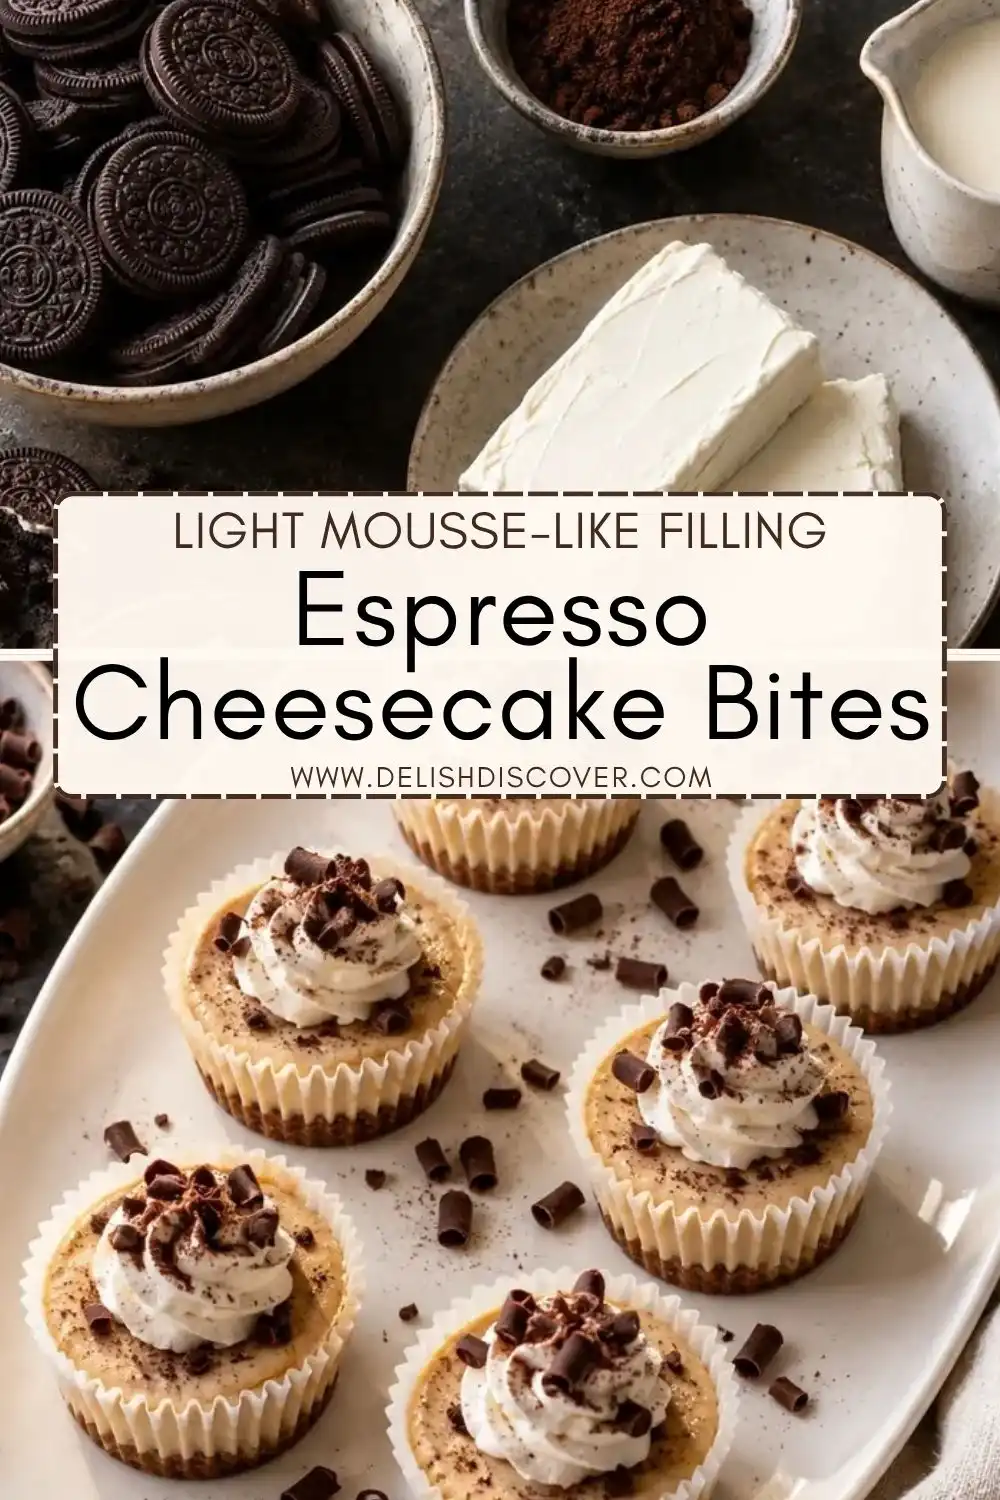

These no-bake espresso mini cheesecakes are filled with coffee cheesecake and topped with a dark chocolate cookie crust, and they don’t need baking. The individual portions look polished on a dessert tray, but the method is friendly: press in the crumbs, fold in a whipped filling, and let the refrigerator do the setting.
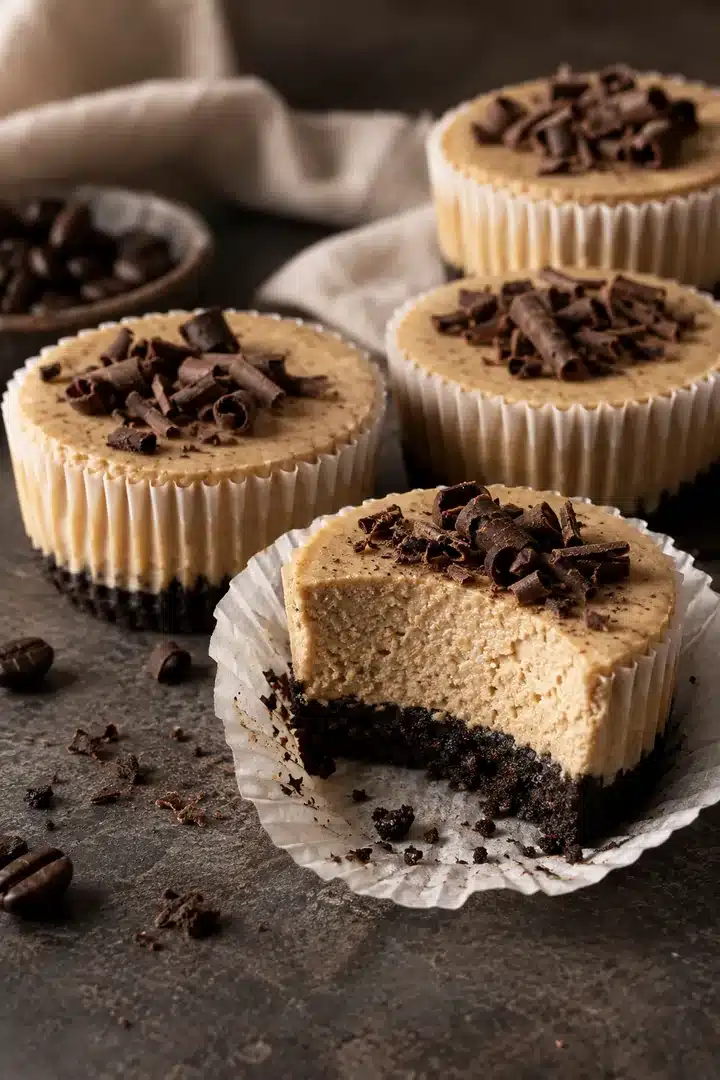
This recipe makes twelve servings in a regular muffin tin. The instant espresso powder provides a definite coffee flavor to the filling without adding any liquid, and fresh whipped cream keeps it light. Make these mini mocha cheesecakes the day before your get-together and top with chocolate curls just before serving for an easy coffeehouse finish.
Table of Contents
Why You’ll Love These No-Bake Coffee Cheesecake Bites
The butter is brushed evenly over the finely ground chocolate cookie crumbs so that the crust stays tight. Each cheesecake is pressed into lined muffin cups for a quick, firm press that produces a dark base to contrast neatly with the pale coffee filling. You don’t have to bake the crust first because it gets cooled while you are mixing.
Softened block cream cheese for a smooth no bake espresso cheesecake. It beats into a lump-free base before the sugar, cooled espresso and vanilla are added. The final step is folding in whipped cream so that the filling is mousse-like but still sets into clean individual portions after a full chill.
Here, espresso powder is more reliable than brewed coffee, because it adds a concentrated flavor without diluting the filling. Dissolve it first in a spoonful of hot water to prevent dark flecks and to give the coffee flavor an even, rounded finish. The small chocolate garnish enhances the mocha note without masking the cheesecake itself.
No-Bake Espresso Mini Cheesecakes
Ingredients
Equipment
Method
- Place 12 paper liners in a standard 12-cup muffin pan. Set the pan on a tray or board so the filled cups can move to the refrigerator without tilting.
- Stir the cookie crumbs, melted butter, and 1 teaspoon espresso powder until every crumb looks damp. Divide the mixture among the liners and press it into firm, level layers. Refrigerate while you make the filling.
- Stir 2 teaspoons espresso powder with the hot water until completely smooth. Set it aside until it is no longer warm; warm coffee can soften the cream cheese mixture unnecessarily.
- Beat the softened cream cheese until smooth. Add powdered sugar, the cooled espresso mixture, and vanilla. Beat again, scraping down the bowl, until the mixture is creamy and evenly coffee-tan.
- Whip the cold heavy cream in a separate bowl to glossy medium peaks. Fold it into the coffee base in three additions with broad strokes, stopping as soon as no white streaks remain.
- Spoon or pipe the filling over the cold crusts and smooth the tops. Cover loosely and refrigerate for at least 4 hours or overnight. Add whipped cream, chocolate curls, and a light espresso dusting only when the centers are cold and firm.
Notes
- Refrigerate covered cheesecakes within two hours and use within 4 days.
- Freeze untopped cheesecakes in an airtight container for up to 1 month; thaw overnight in the refrigerator.
- Do not reheat. Serve well chilled.
Ingredient Notes
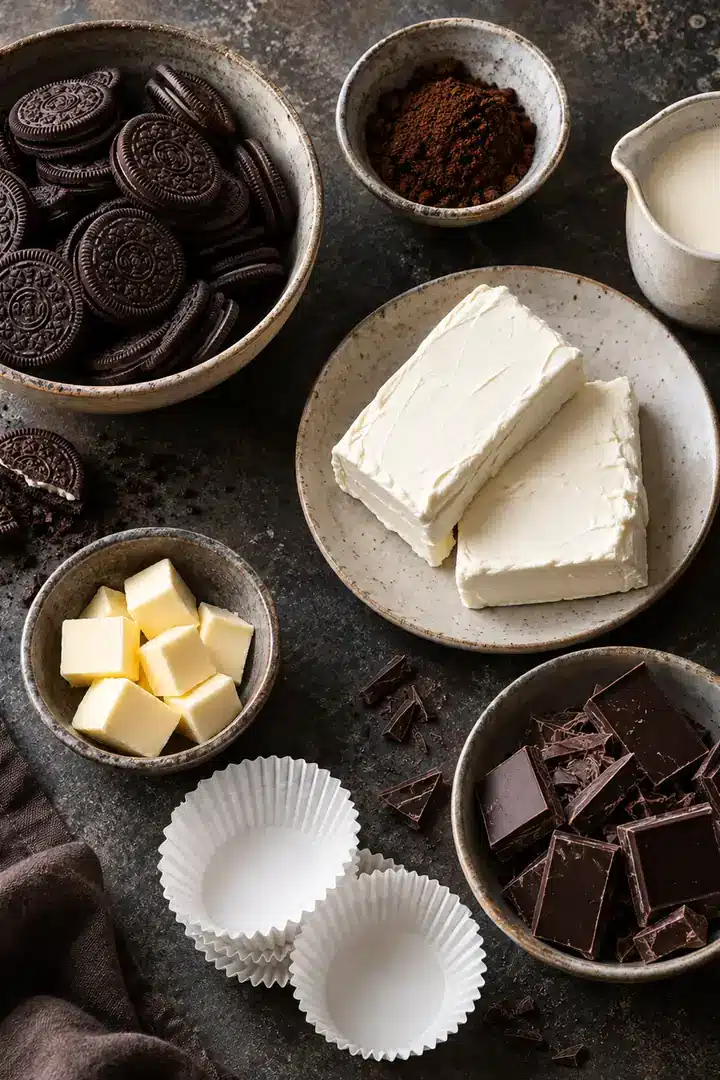
- Chocolate sandwich cookies: Use regular whole cookies, filling included, and crush them to a fine, even crumb. Large pieces make a chilled crust more likely to break apart.
- Instant espresso powder: Choose instant espresso powder, not coffee grounds. Dissolve it completely in hot water, then let it cool before it reaches the dairy filling.
- Full-fat block cream cheese: Brick-style cream cheese provides the most reliable body for a no-bake filling. Let it soften until it yields when pressed, but do not let it become oily.
- Powdered sugar: Powdered sugar dissolves smoothly in a cold dessert. Granulated sugar can leave a faintly gritty texture after chilling.
- Very cold heavy cream: Whip the cream separately to glossy medium peaks. It should hold a soft point at the tip rather than look dry or stiff.
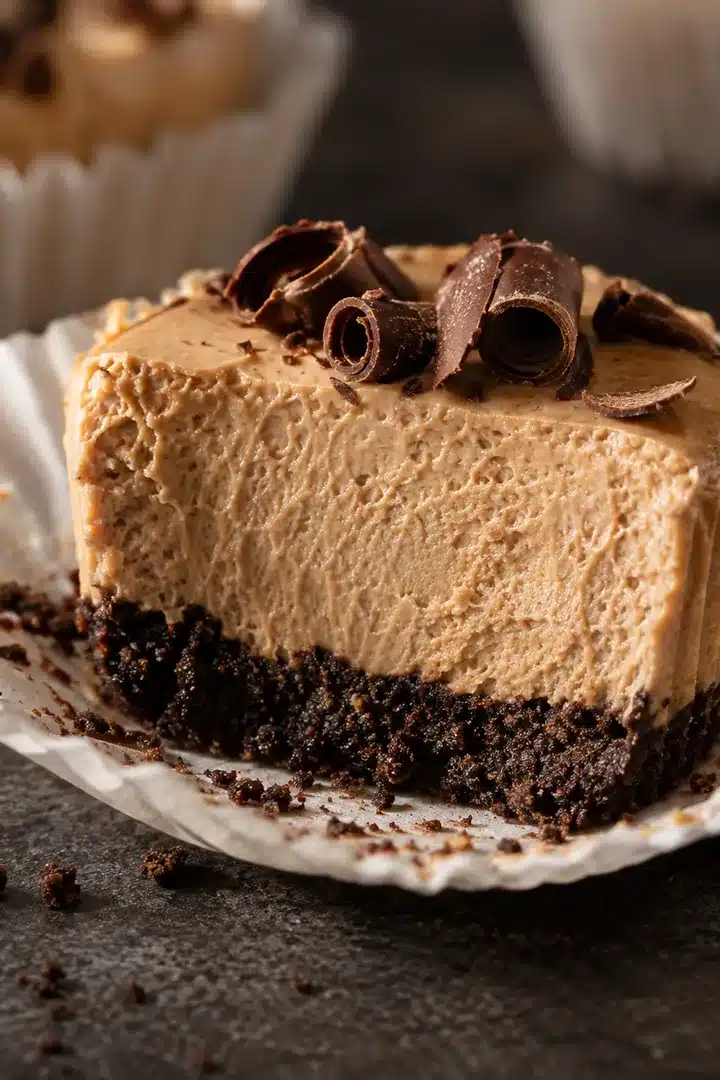
- Dark chocolate curls: Use them as a light garnish just before serving. Shaved chocolate or a few finely chopped pieces both give the tops a clean finish.
How to Make No-Bake Espresso Mini Cheesecakes
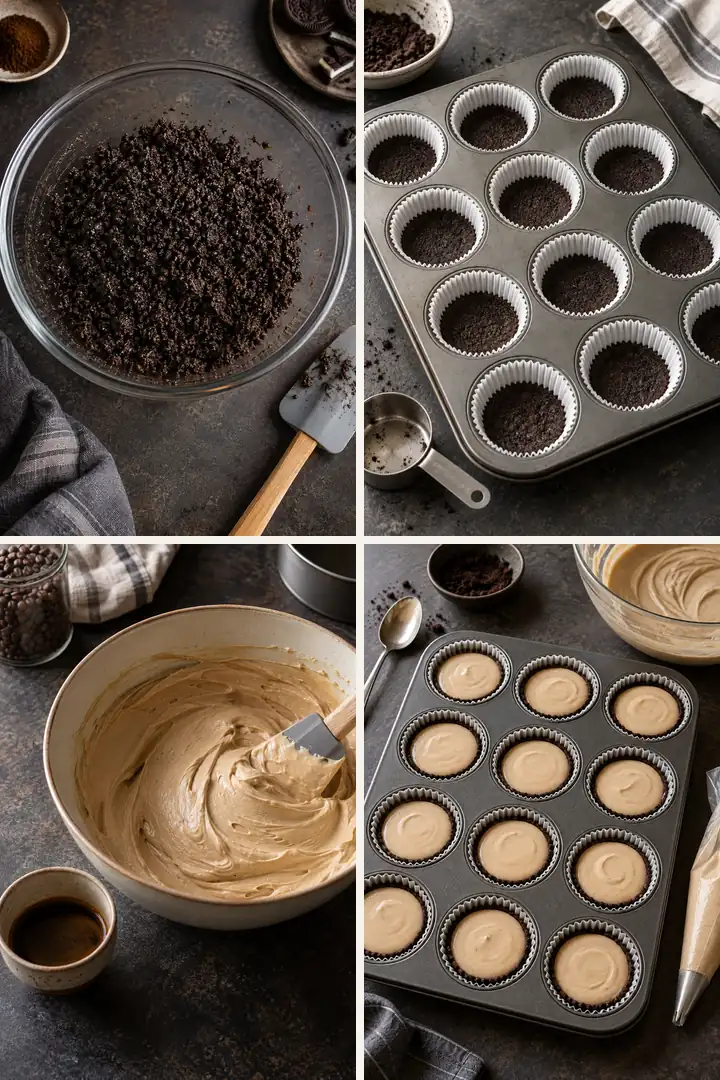
Line a muffin pan, make the espresso cookie crust, whip a smooth coffee filling, then chill the cups until firm.
Total time: 4 hours and 35 minutes
-
Line the muffin pan
Place 12 paper liners in a standard 12-cup muffin pan. Set the pan on a tray or board so the filled cups can move to the refrigerator without tilting.
-
Mix and press the crust
Stir the cookie crumbs, melted butter, and 1 teaspoon espresso powder until every crumb looks damp. Divide the mixture among the liners and press it into firm, level layers. Refrigerate while you make the filling.
-
Dissolve the espresso
Stir 2 teaspoons espresso powder with the hot water until completely smooth. Set it aside until it is no longer warm; warm coffee can soften the cream cheese mixture unnecessarily.
-
Beat the cheesecake base
Beat the softened cream cheese until smooth. Add powdered sugar, the cooled espresso mixture, and vanilla. Beat again, scraping down the bowl, until the mixture is creamy and evenly coffee-tan.
-
Whip and fold
Whip the cold heavy cream in a separate bowl to glossy medium peaks. Fold it into the coffee base in three additions with broad strokes, stopping as soon as no white streaks remain.
-
Fill and chill until firm
Spoon or pipe the filling over the cold crusts and smooth the tops. Cover loosely and refrigerate for at least 4 hours or overnight. Add whipped cream, chocolate curls, and a light espresso dusting only when the centers are cold and firm.
- The recipe includes a full refrigeration time, not a last minute add-on. The cream cheese mixture chills and firms up, and the butter in the crumb base firms up, so it’s easier to unwrap and eat with a fork. For the neatest presentation, make the cheesecakes the nite before and save the topping for the next day.
- If the cream cheese looks lumpy before adding the whipped cream, keep mixing and scraping at that point. After you add the whipped cream, use a spatula instead of the mixer so that the filling keeps the air that gives it a lighter texture. This simple progression is the key to coffee cheesecake bites that are rich but not heavy.
- A piping bag makes for especially tidy cups but a spoon will do the job. Fill liners nearly full to the top and level off with the back of a small spoon. Don’t pat the filling down; a gentle spread will keep the texture mousse-like and leave room for a little topping.
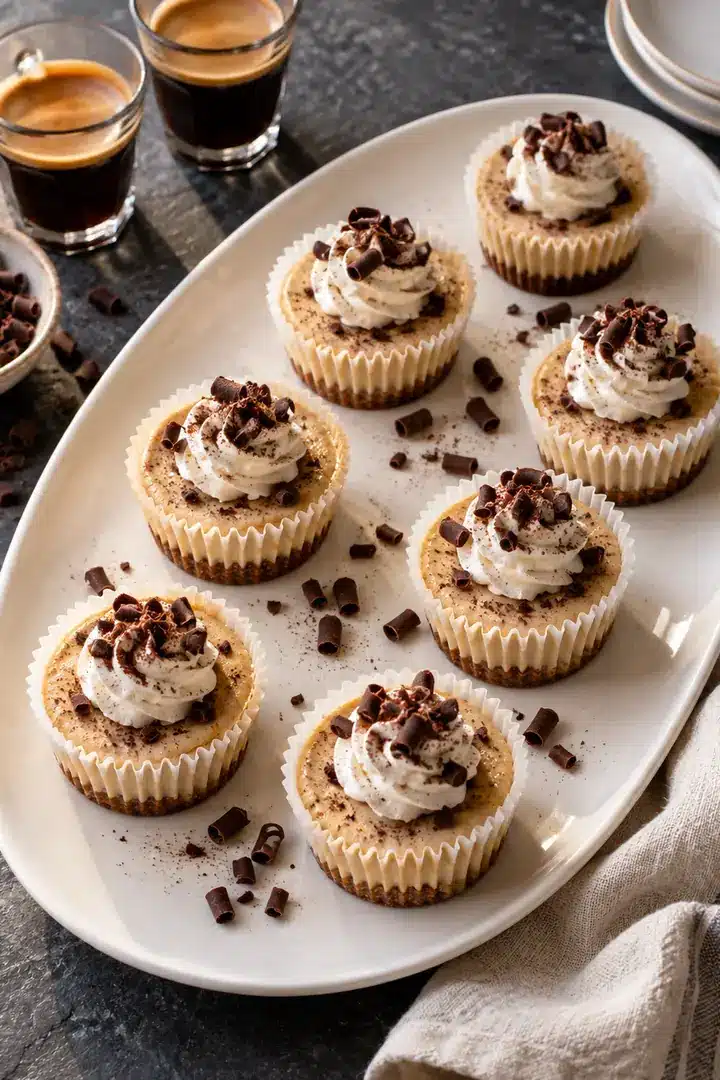
- Choose one garnish direction for prettiest finish. A small swirl of whipped cream and a few chocolate curls make the coffee color pop, while a very light dusting of espresso powder adds a bolder aroma. If you’re feeding a crowd, put out a batch from the fridge, and keep the rest chilled until it’s time for seconds.
- These are a particularly useful make-ahead coffee dessert for a brunch, book club or after-dinner spread, since there is no slicing at the table. Keep liners on until serving, arrange cups on platter, and offer small forks. The dark crust, the tan filling and the chocolate garnish do most of the work for you.
Storage and Make-Ahead
Refrigerator
Up to 4 daysKeep the cheesecakes covered and wait to add whipped cream and chocolate garnish until near serving time.
Freezer
Up to 1 monthFreeze portions without toppings in an airtight container, then thaw overnight in the refrigerator.
Serve
Well chilledBecause this dessert contains dairy, do not leave it at room temperature for more than two hours.
Frequently Asked Questions
Save this make ahead coffee dessert
Save this recipe for coffee-loving guests, make-ahead brunch desserts, and any evening when a chilled mocha treat sounds just right.