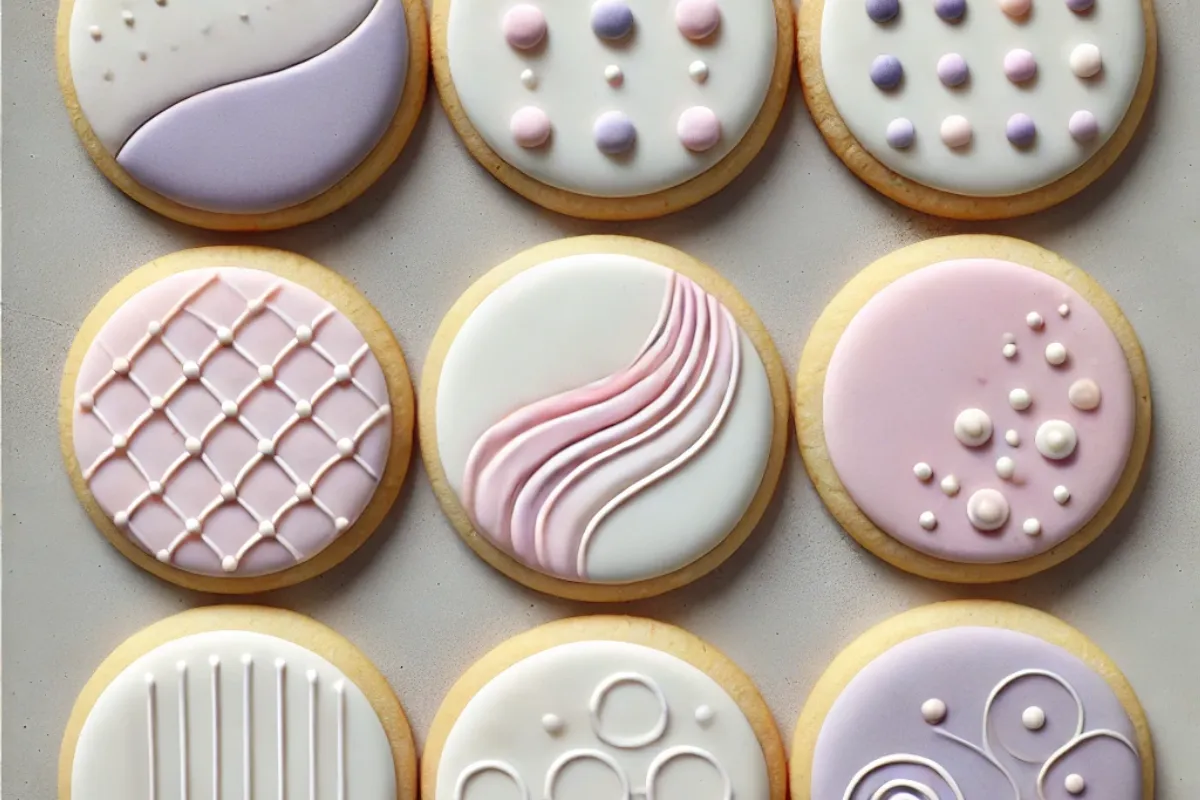
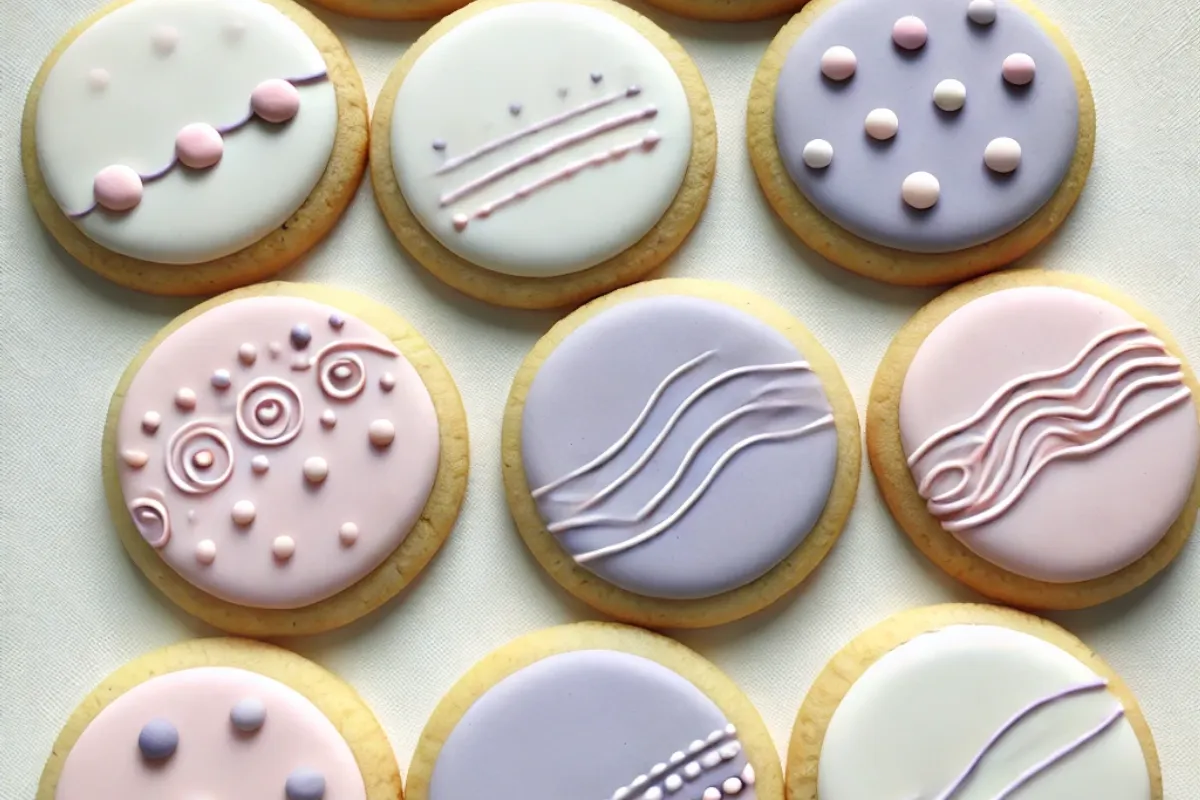
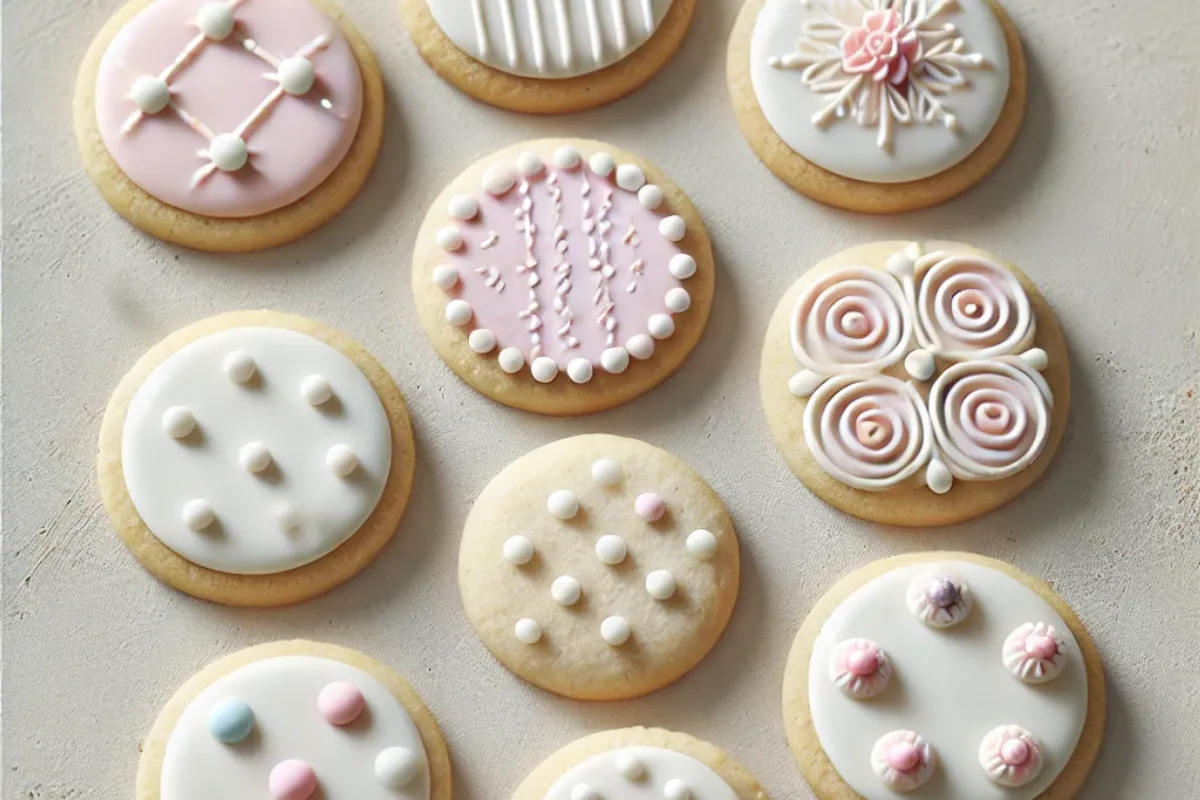
Decorating cookies is a fun and creative way to make any event more special. Whether you’re preparing for a holiday, a birthday, or simply want to enhance your baking skills, you may wonder: What can I decorate my cookies with? The answer is simple—there are countless ways to transform plain cookies into works of art. In this article, we’ll explore the best tools, materials, and ideas for decorating cookies to suit any occasion.
Why Cookie Decoration Is So Enjoyable
Cookie decorating is a great way to express creativity and have fun in the kitchen. From colorful frosting to intricate designs, the possibilities are endless. Whether you’re an experienced baker or just starting, discovering what you can decorate your cookies with opens up a world of possibilities. Here’s why it’s such a beloved activity:
- Perfect for Any Event: You can tailor your cookie decorations to fit holidays, parties, or any special occasion.
- Family-Friendly Activity: Decorating cookies is a fun project to enjoy with kids, as it lets them get hands-on with icing, sprinkles, and more.
- A Tasty Canvas: Your cookie is the canvas, and the decorations are your medium to create a delicious masterpiece.
For even more decorating inspiration, check out Pillsbury’s Cookie Decorating Ideas.
Basic Materials for Decorating Cookies
If you’re wondering what can I decorate my cookies with, start with these essential materials. These basics will help you create beautiful and delicious cookie designs.
Frosting and Icing
Frosting and icing are classic choices when it comes to decorating cookies. Whether you want to add smooth royal icing or fluffy buttercream, icing forms the base for most cookie designs.
- Royal Icing: This is perfect for creating smooth surfaces and intricate designs. It dries hard, making it ideal for detailed work like piping.
- Buttercream Frosting: For a softer, more textured look, buttercream is great for spreading or piping onto cookies in decorative swirls, flowers, or borders.
For tips on icing cookies like a pro, visit this guide from King Arthur Baking.
Sprinkles and Edible Decorations
Sprinkles are one of the simplest and most versatile ways to decorate cookies. Available in every color and shape, they can quickly elevate any cookie design.
- Jimmies and Nonpareils: These classic sprinkle options are perfect for adding a pop of color and texture.
- Shaped Sprinkles: From stars to hearts, themed sprinkles can match the occasion, whether it’s Christmas, Halloween, or a birthday.
For even more sprinkle ideas, explore Delish’s Best Sprinkle Desserts.
Edible Glitter and Luster Dust
For a more glamorous look, try using edible glitter or luster dust. These products give your cookies a sparkling, professional finish without altering the flavor.
- Edible Glitter: A fine, sparkly powder that adds shimmer and shine to any icing.
- Luster Dust: Use luster dust to add a metallic finish in colors like gold, silver, or pearl, perfect for special occasions.
Candy and Chocolate Decorations
Candies are another easy way to decorate cookies, especially if you want to add texture and dimension. From candy eyes for Halloween treats to chocolate chips, these decorations are both fun and flavorful.
- Candy Eyes: Ideal for monster-themed cookies or creating fun faces.
- Mini M&Ms or Chocolate Chips: These small candies make for colorful, delicious decorations that add extra sweetness to your cookies.
For more candy decoration ideas, check out this Halloween Cookie Inspiration.
Creative Techniques for Decorating Cookies

Beyond basic materials, there are several creative techniques you can try when decorating cookies. These techniques help you explore what you can decorate your cookies with to take them to the next level.
Piping and Detailing
Using a piping bag with various tips, you can add intricate designs like flowers, borders, or even lettering to your cookies.
- Piped Flowers: Use a star or petal tip to pipe buttercream flowers for an elegant look.
- Detailed Borders: Royal icing is perfect for creating smooth, detailed borders around your cookies.
Stenciling
Stencils make cookie decorating easier, allowing you to create detailed patterns or images without advanced skills.
- Airbrushing with Stencils: Lightly spray food coloring over a stencil to leave behind intricate designs.
- Icing Stencils: Spread icing over a stencil to create detailed patterns directly on the cookie.
Fondant Decorations
Fondant gives cookies a smooth, professional finish. You can roll it out, cut it into shapes, and place it over cookies for a sleek appearance, or mold it into 3D decorations.
- Fondant Embossing: Use embossing tools to press designs into fondant for an upscale look.
- 3D Shapes: Create flowers, bows, or other elements to add a dimensional effect to your cookie designs.
For more advanced cookie decorating techniques, visit Wilton’s Cookie Decorating Guide.
Advanced Cookie Decorating Tips and Tricks
Elevate your cookie decorations with these advanced techniques and ideas to make your cookies stand out.
Use Textured Fondant
Fondant isn’t just for cakes—it’s a fantastic way to create elegant cookie designs.
- Embossing Tools: Use embossing tools or textured mats to imprint designs onto fondant before placing it on your cookie.
- Color Contrast: Brush edible luster dust or food coloring onto the embossed patterns to enhance the texture.
For more fondant inspiration, check out this guide to cookie fondant techniques.
Marbled Icing Effects
Marbling adds an artistic flair to your cookies.
- Start by spreading a layer of white royal icing on your cookie.
- Drop small amounts of colored icing on top.
- Use a toothpick or skewer to swirl the colors into beautiful marbled designs.
Layered Piping
Create 3D effects by layering piped details.
- Flowers and Leaves: Pipe flowers in stages, letting each layer dry slightly before adding the next.
- Ruffles and Waves: Use petal tips to create dynamic ruffles or scalloped edges.
Use Edible Paints
Edible paints allow you to add fine details or intricate artwork to cookies.
- Use a fine-tip food-safe brush to paint freehand designs, patterns, or even lettering.
- Metallic edible paints work particularly well for holiday cookies or special events.
Chocolate Drizzle and Dips
Melted chocolate can serve as both a decoration and a delicious addition.
- Dip and Drizzle: Dip the edges of your cookies in dark or white chocolate, or drizzle the chocolate in artistic patterns.
- Chocolate Accents: Pipe melted chocolate into designs on parchment paper, let it harden, and then place it on your cookie.
Explore more chocolate-based cookie ideas in this chocolate decorating guide.
Creative Cookie Decoration Themes
Looking for thematic cookie ideas? Here are some fun and seasonal inspirations:
Seasonal Themes
- Christmas Cookies
- Decorate sugar cookies with royal icing in holiday shapes like trees, ornaments, or stockings.
- Add edible glitter and gold luster for a festive touch.
- Halloween Cookies
- Create spooky spider webs or jack-o’-lantern designs.
- Use candy eyes for monster-themed cookies.
Special Occasions
- Birthday Cookies
- Personalize cookies with the recipient’s name or age using icing lettering.
- Use colorful sprinkles and edible glitter for a celebratory vibe.
- Wedding Favors
- Create elegant cookies using embossed fondant or delicate lace piping.
- Package them in clear cellophane bags tied with ribbon for guests.
Tools for Perfect Cookie Decoration
Investing in the right tools can make all the difference in your cookie decorating journey. Here are some essentials:
- Piping Bags and Tips
- Use reusable or disposable piping bags with a variety of tips (round, star, leaf) for detailed designs.
- Offset Spatula
- A small offset spatula is ideal for spreading icing evenly.
- Edible Markers
- Great for drawing intricate designs or adding fine details to fondant or dried royal icing.
Advanced Cookie Decorating for Specific Occasions
Let’s dive deeper into ideas for tailoring your cookie decorations for various occasions and making them the centerpiece of your celebrations.

Seasonal Celebrations
Spring & Easter Cookies
- Flower Power: Use pastel-colored royal icing to create flowers, leaves, and grass. Add piped daisies or tulips for a cheerful spring vibe.
- Easter Eggs: Decorate egg-shaped cookies with intricate patterns, dots, and zigzags using vibrant icing colors.
- Bunny Faces: Pipe bunny ears and whiskers on round cookies, using mini marshmallows for a fluffy 3D effect.
Summer Vibes
- Beach-Themed Designs: Create cookies shaped like flip-flops, starfish, or palm trees. Add edible sand using crushed graham crackers.
- Fruity Fun: Decorate cookies to resemble slices of watermelon, lemons, or pineapples. Use bright colors and a glossy finish for a fresh look.
Explore additional summer dessert inspirations in this seasonal recipe guide.
Special Milestone Cookies
Graduation
- Caps and Scrolls: Create cookies in the shape of graduation caps and diplomas. Use icing to pipe the graduate’s year or initials.
- School Colors: Incorporate the graduate’s school colors in your designs, from icing shades to sprinkles.
Anniversaries
- Romantic Themes: Use lace piping, edible pearls, or metallic luster dust to create elegant anniversary cookies.
- Monogrammed Designs: Personalize cookies with the couple’s initials or anniversary date for a thoughtful touch.
Pro Cookie Storage and Presentation Tips
Your beautifully decorated cookies deserve to be shown off and preserved properly. Here’s how to ensure they stay fresh and presentable:
Storage
- Layering: Place sheets of parchment paper between layers if stacking cookies to prevent damage.
- Room Temperature: Store cookies with buttercream or royal icing at room temperature in an airtight container for up to a week.
- Refrigeration: Use refrigeration for cookies with perishable toppings like cream cheese frosting, but allow them to reach room temperature before serving to prevent condensation.
Presentation
- Cookie Boxes: Place cookies in decorative boxes for gifting. Include small dividers or padding to keep designs intact.
- Tiered Displays: Use a tiered tray to create a visually appealing dessert table centerpiece.
- Themed Props: Add small seasonal props, like mini pumpkins or ornaments, to enhance your display.
Decorating Mistakes to Avoid
Even seasoned decorators can encounter hiccups. Here are common pitfalls and how to sidestep them:
- Runny Icing: If your royal icing is too thin, adjust the consistency by adding a small amount of powdered sugar until it holds its shape.
- Unset Icing Layers: Always let one layer of icing dry completely before adding the next to prevent colors from bleeding.
- Broken Cookies: Handle freshly baked cookies with care, as they are delicate when warm. Let them cool fully before decorating.
FAQs About Cookie Decorating
What’s the best way to start decorating cookies as a beginner?
Begin with basic royal icing and simple sprinkles. Piping simple designs or dipping the cookies in icing and adding sprinkles is an easy way to get started.
Can I decorate cookies without royal icing?
Yes! Buttercream, fondant, and even melted chocolate are all excellent alternatives to royal icing, each offering different textures and finishes.
What kind of cookies are ideal for decorating?
Sugar cookies and gingerbread cookies are best for decorating since they hold their shape when baked and provide a sturdy base for icing and other decorations.
How do I make my decorated cookies look professional?
Using tools like piping bags, stencils, and edible glitter will help give your cookies a polished look. Practicing icing techniques and using consistent designs will also elevate the overall presentation.
Conclusion
Decorating cookies opens up a world of creativity, and there’s no limit to what you can decorate your cookies with. From royal icing and buttercream to sprinkles, edible glitter, and fondant, the options are endless. With the right tools and a little imagination, you can create beautiful and delicious cookies for any occasion. Whether you’re a beginner or experienced baker, these ideas will help you decorate your cookies like a pro.


1 thought on “What can I decorate my cookies with?”